

There are few things I enjoy more than wasting my time scouring Pinterest for recipes, workouts, and crafts that I most likely will never do. Since I was happy to find any distraction to keep me from unpacking from school, I decided to try a craft that looked relatively simple. Welp, I was wrong. This craft was not as simple as it looked, but, it still came out relatively cute. Check out my step by step instructions below!
The Inspiration:

I found this picture on Pinterest and thought “Eh, how hard can that be. All I need is some styrofoam and some flowers. Easy peasy!” Wrong. Wrong. So wrong.
Step 1:
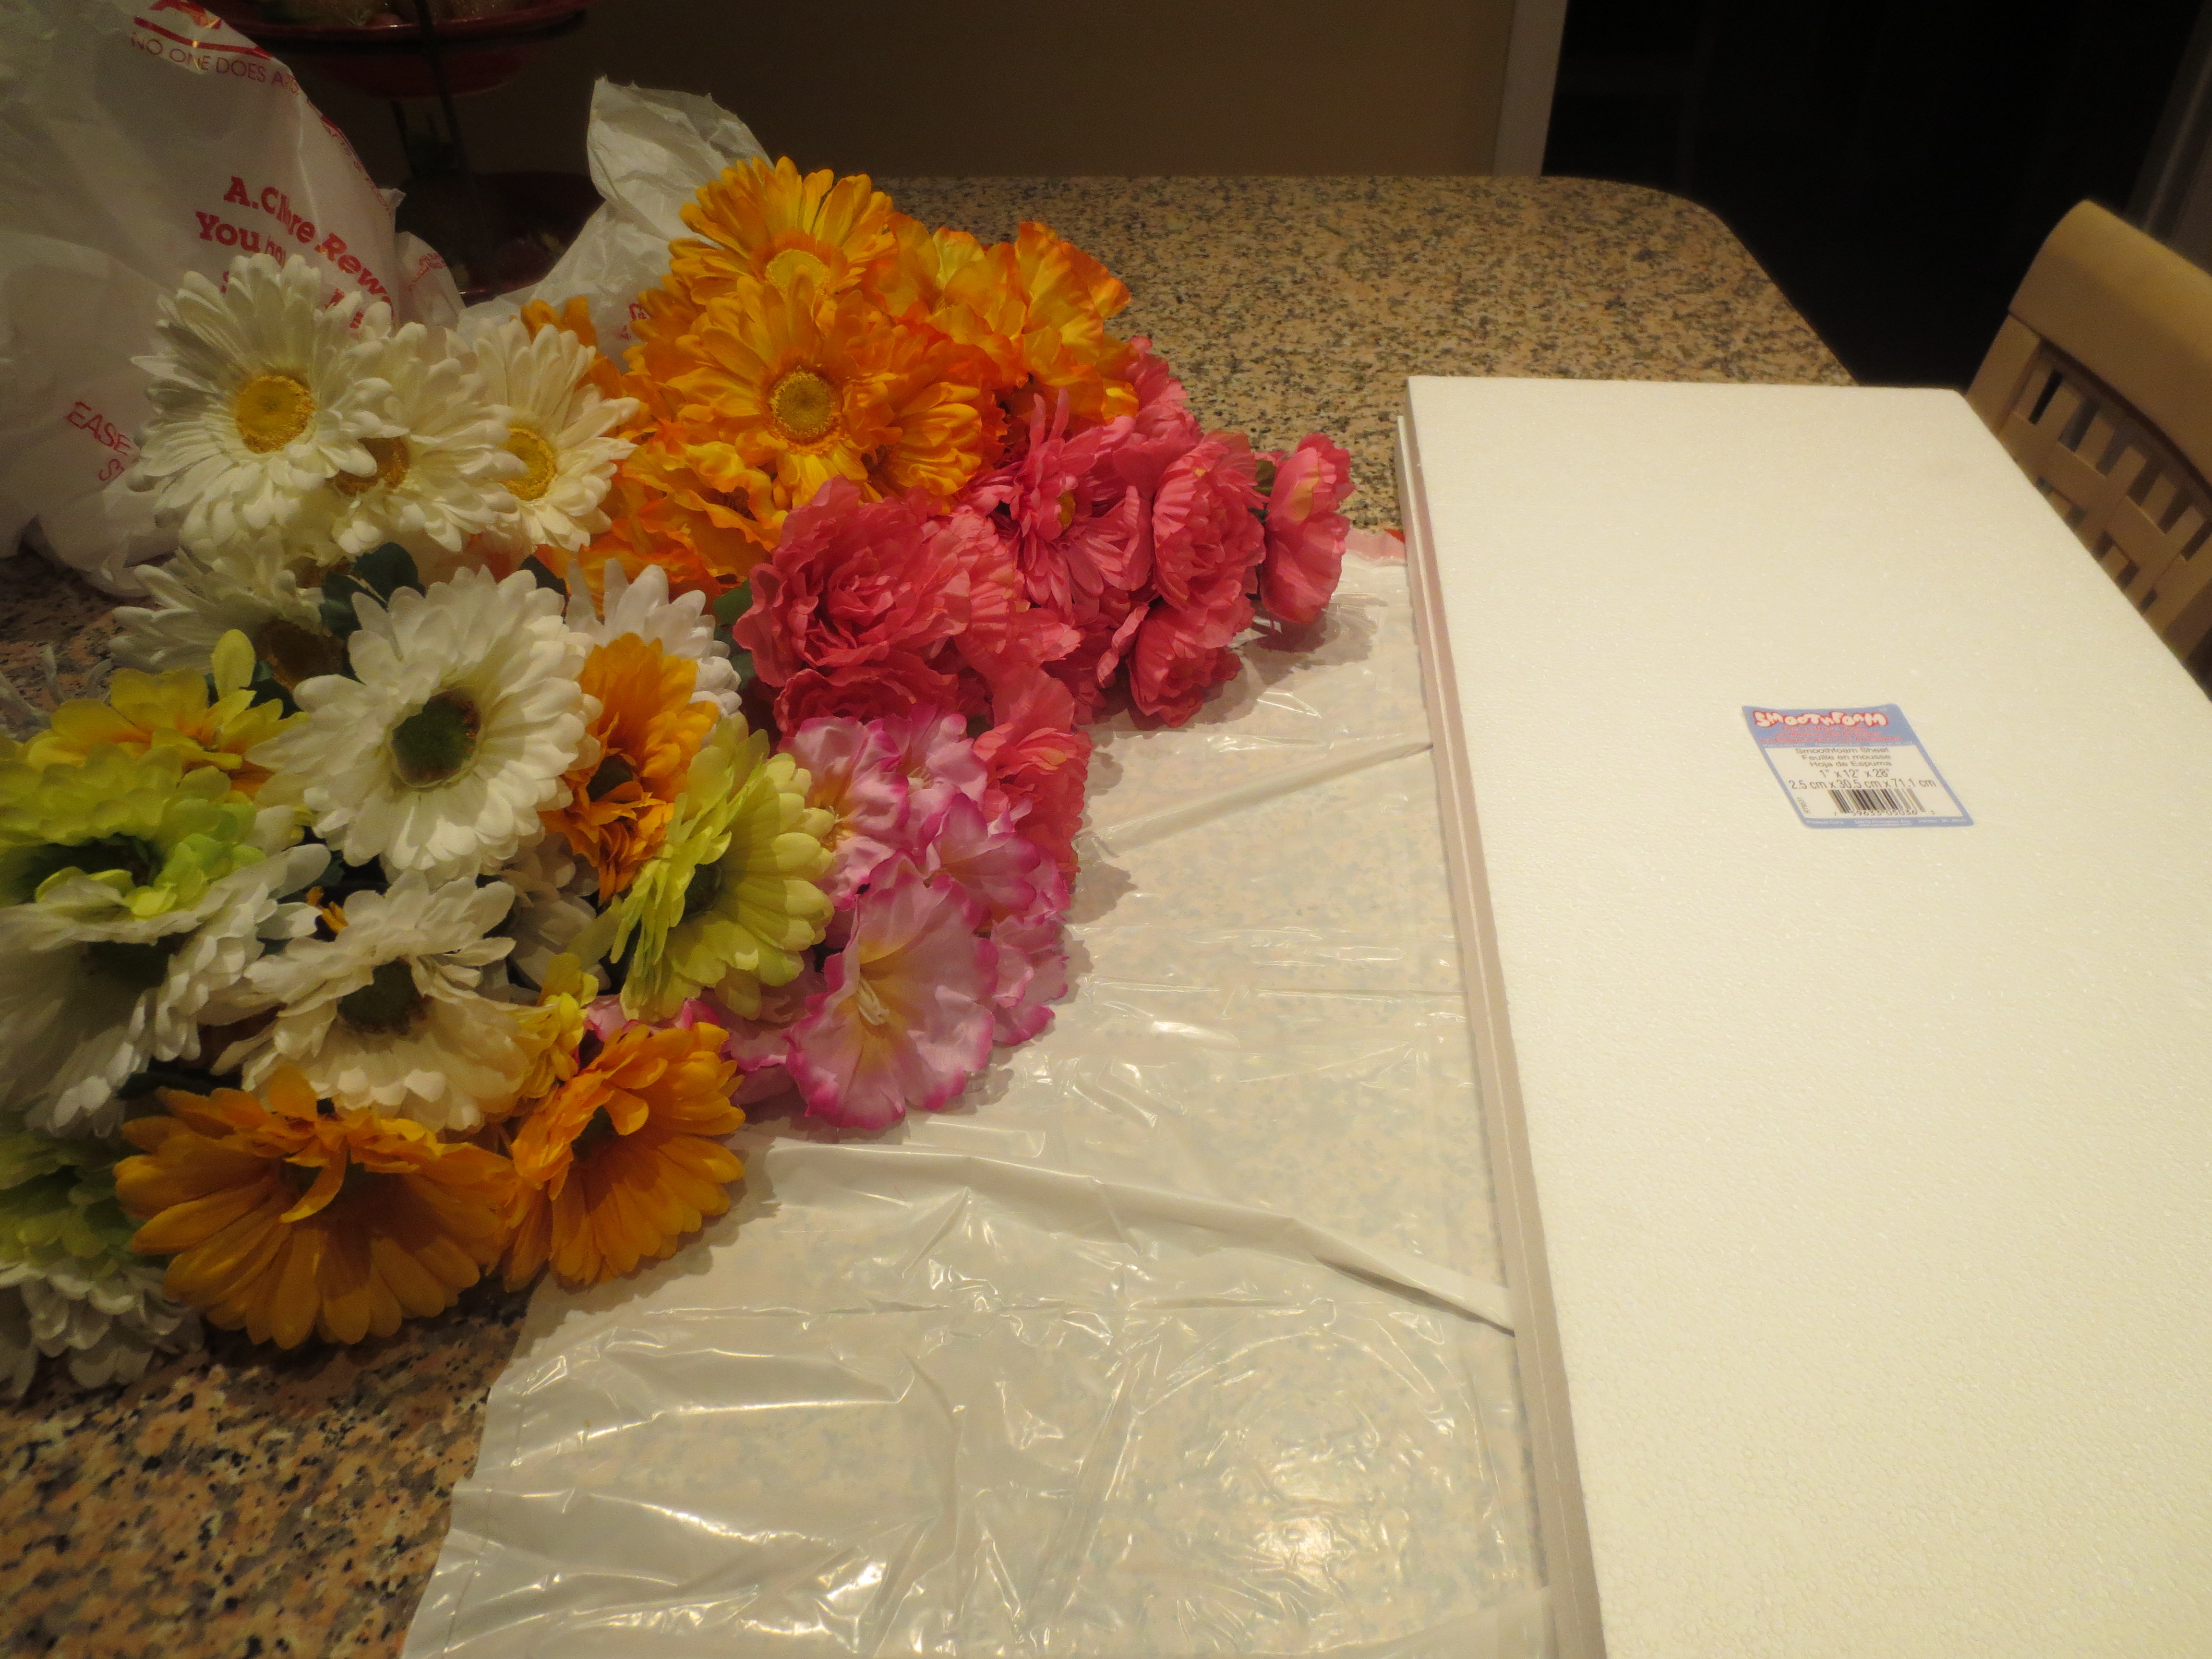

First, I went to A.C. Moore to gather some of the supplies I needed. I bought two pieces of styrofoam (mostly because I was certain I would mess up on the first and need another one) as well as a bunch of fake flowers. The flowers were 50% off and I had a 50% off coupon for one item, so all together this project cost about $25. I laid a garbage bag underneath the styrofoam to avoid as much mess as possible (it still got pretty messy) and started working.
Step 2:
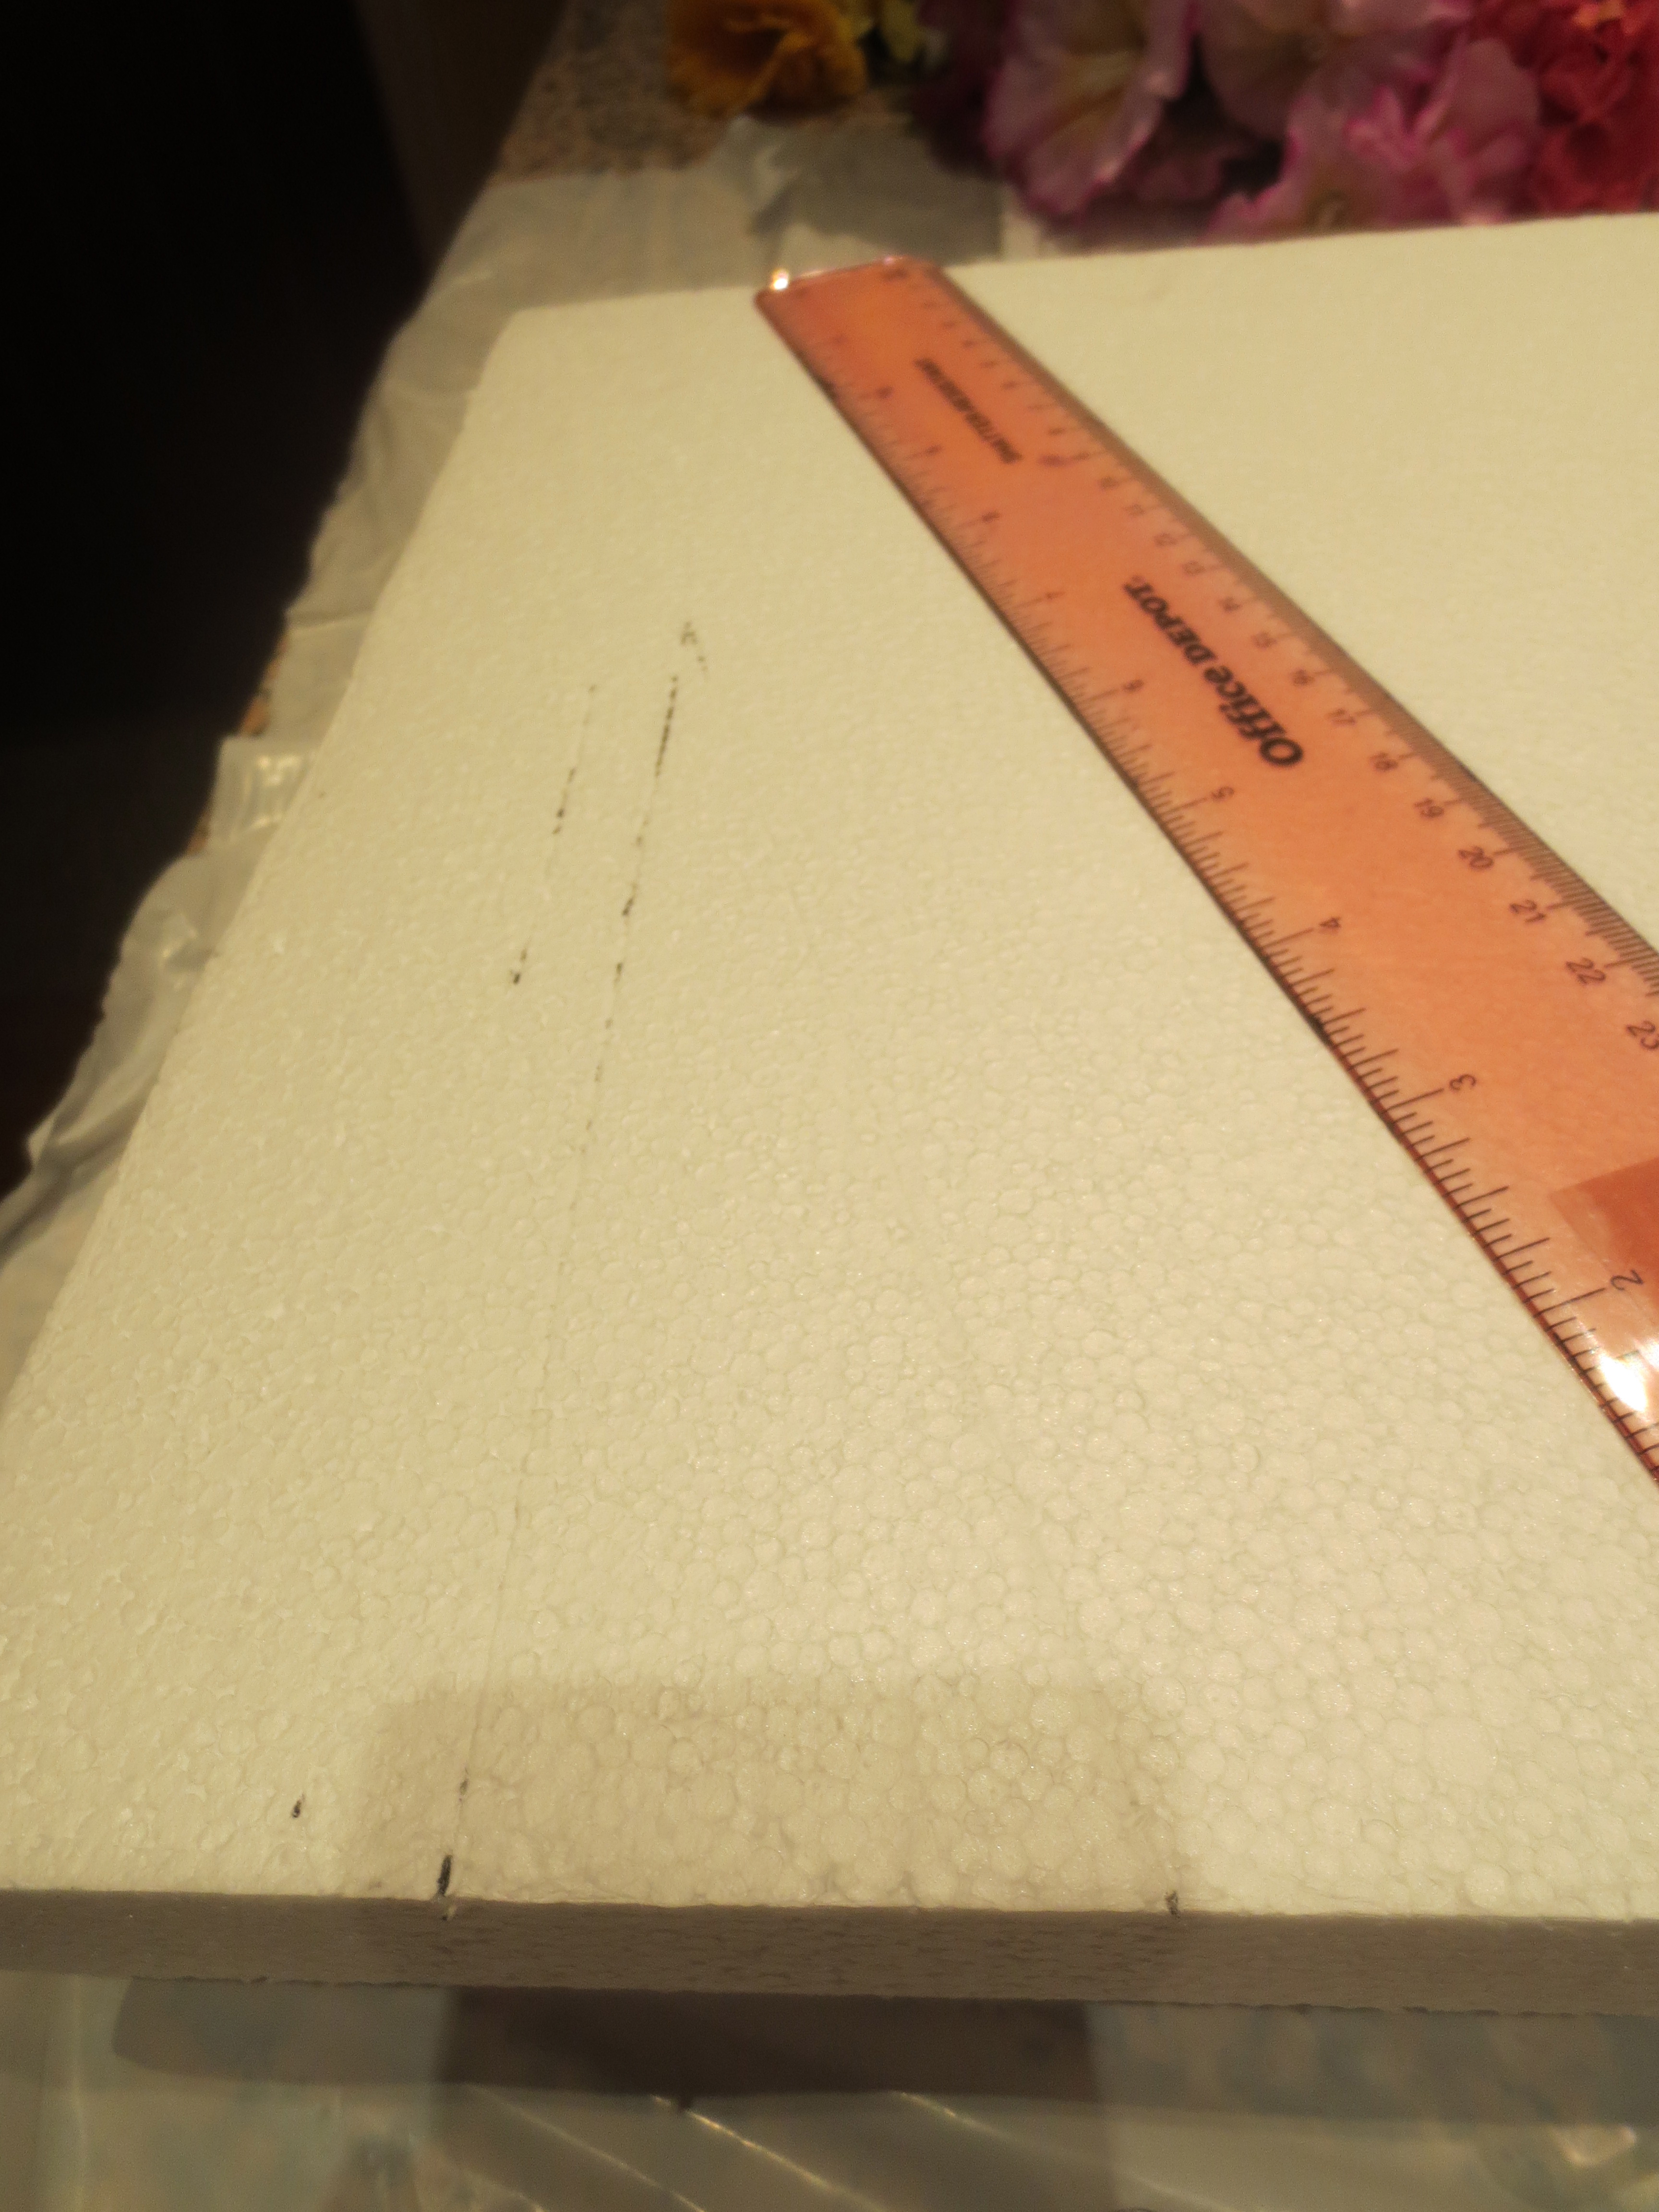

I started by searching my house high and low for a ruler. I had just about resigned myself to using the side of a notebook when I found this ruler hidden underneath a pile of papers in my room. Hallelujah! I used the ruler as a straight-edge to make the lines look as nice as possible. Note: Any letter that has a curved edge will be far more difficult to write. Speaking from experience..
Step 3:
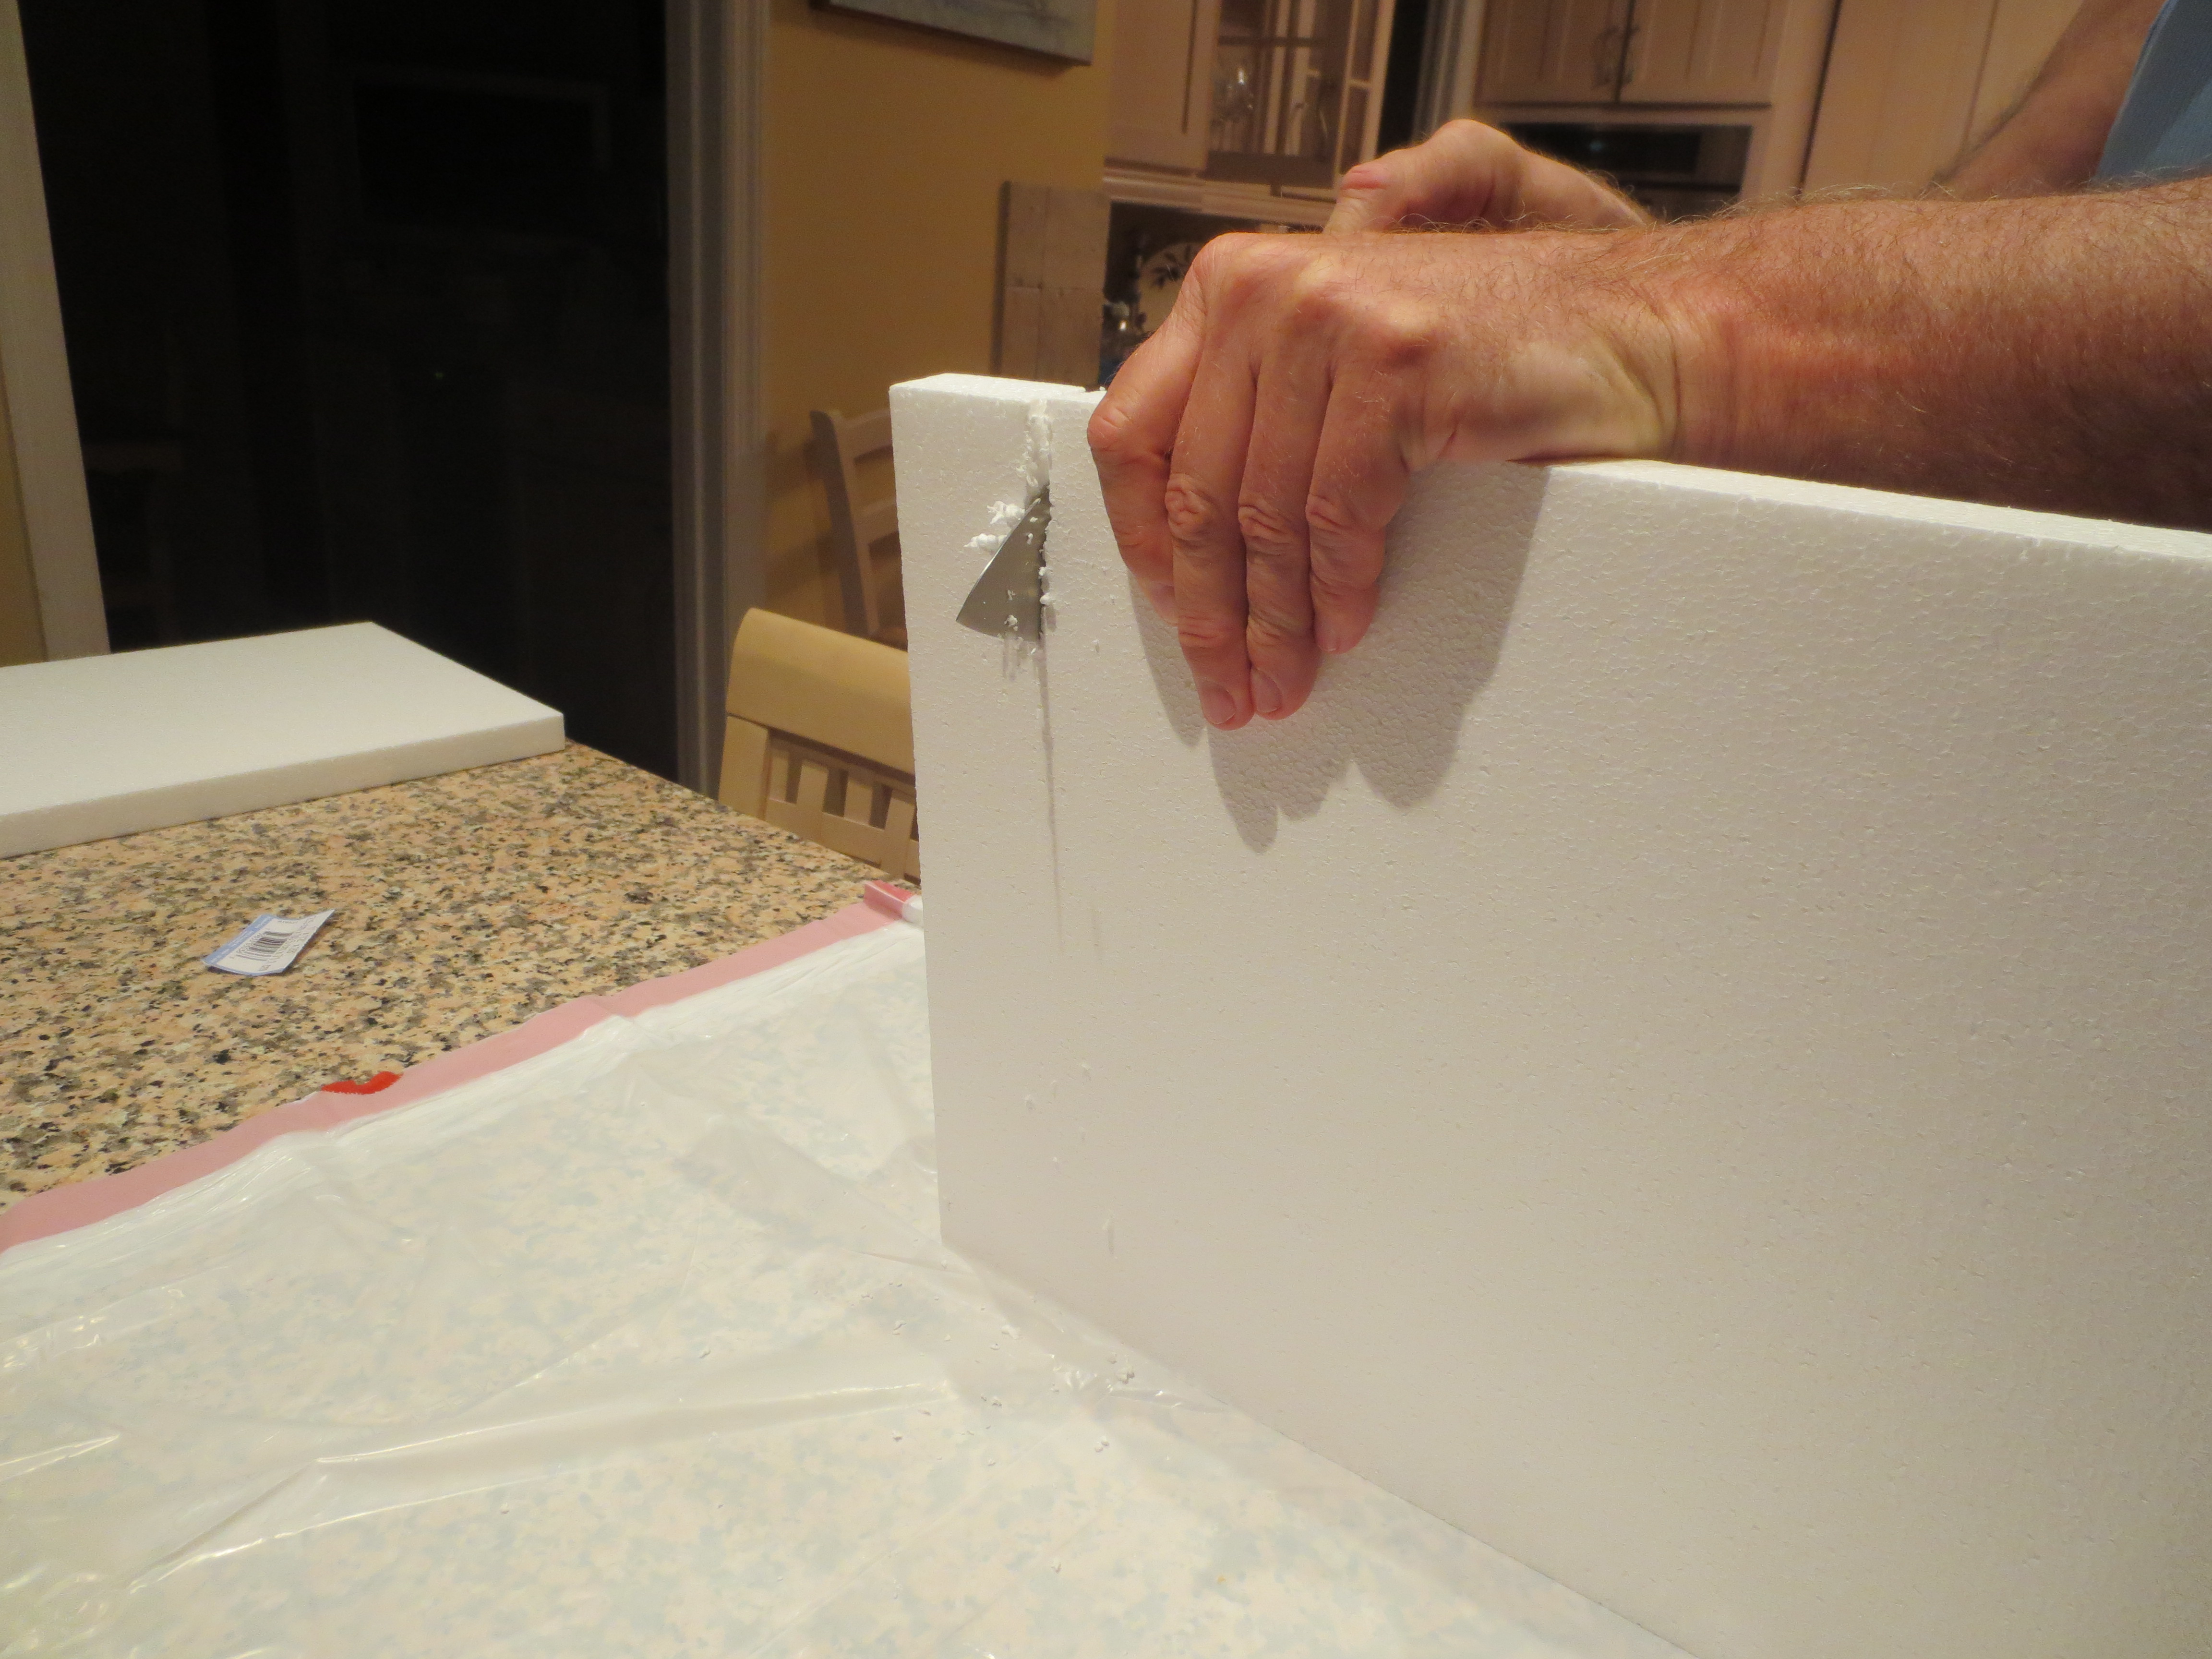
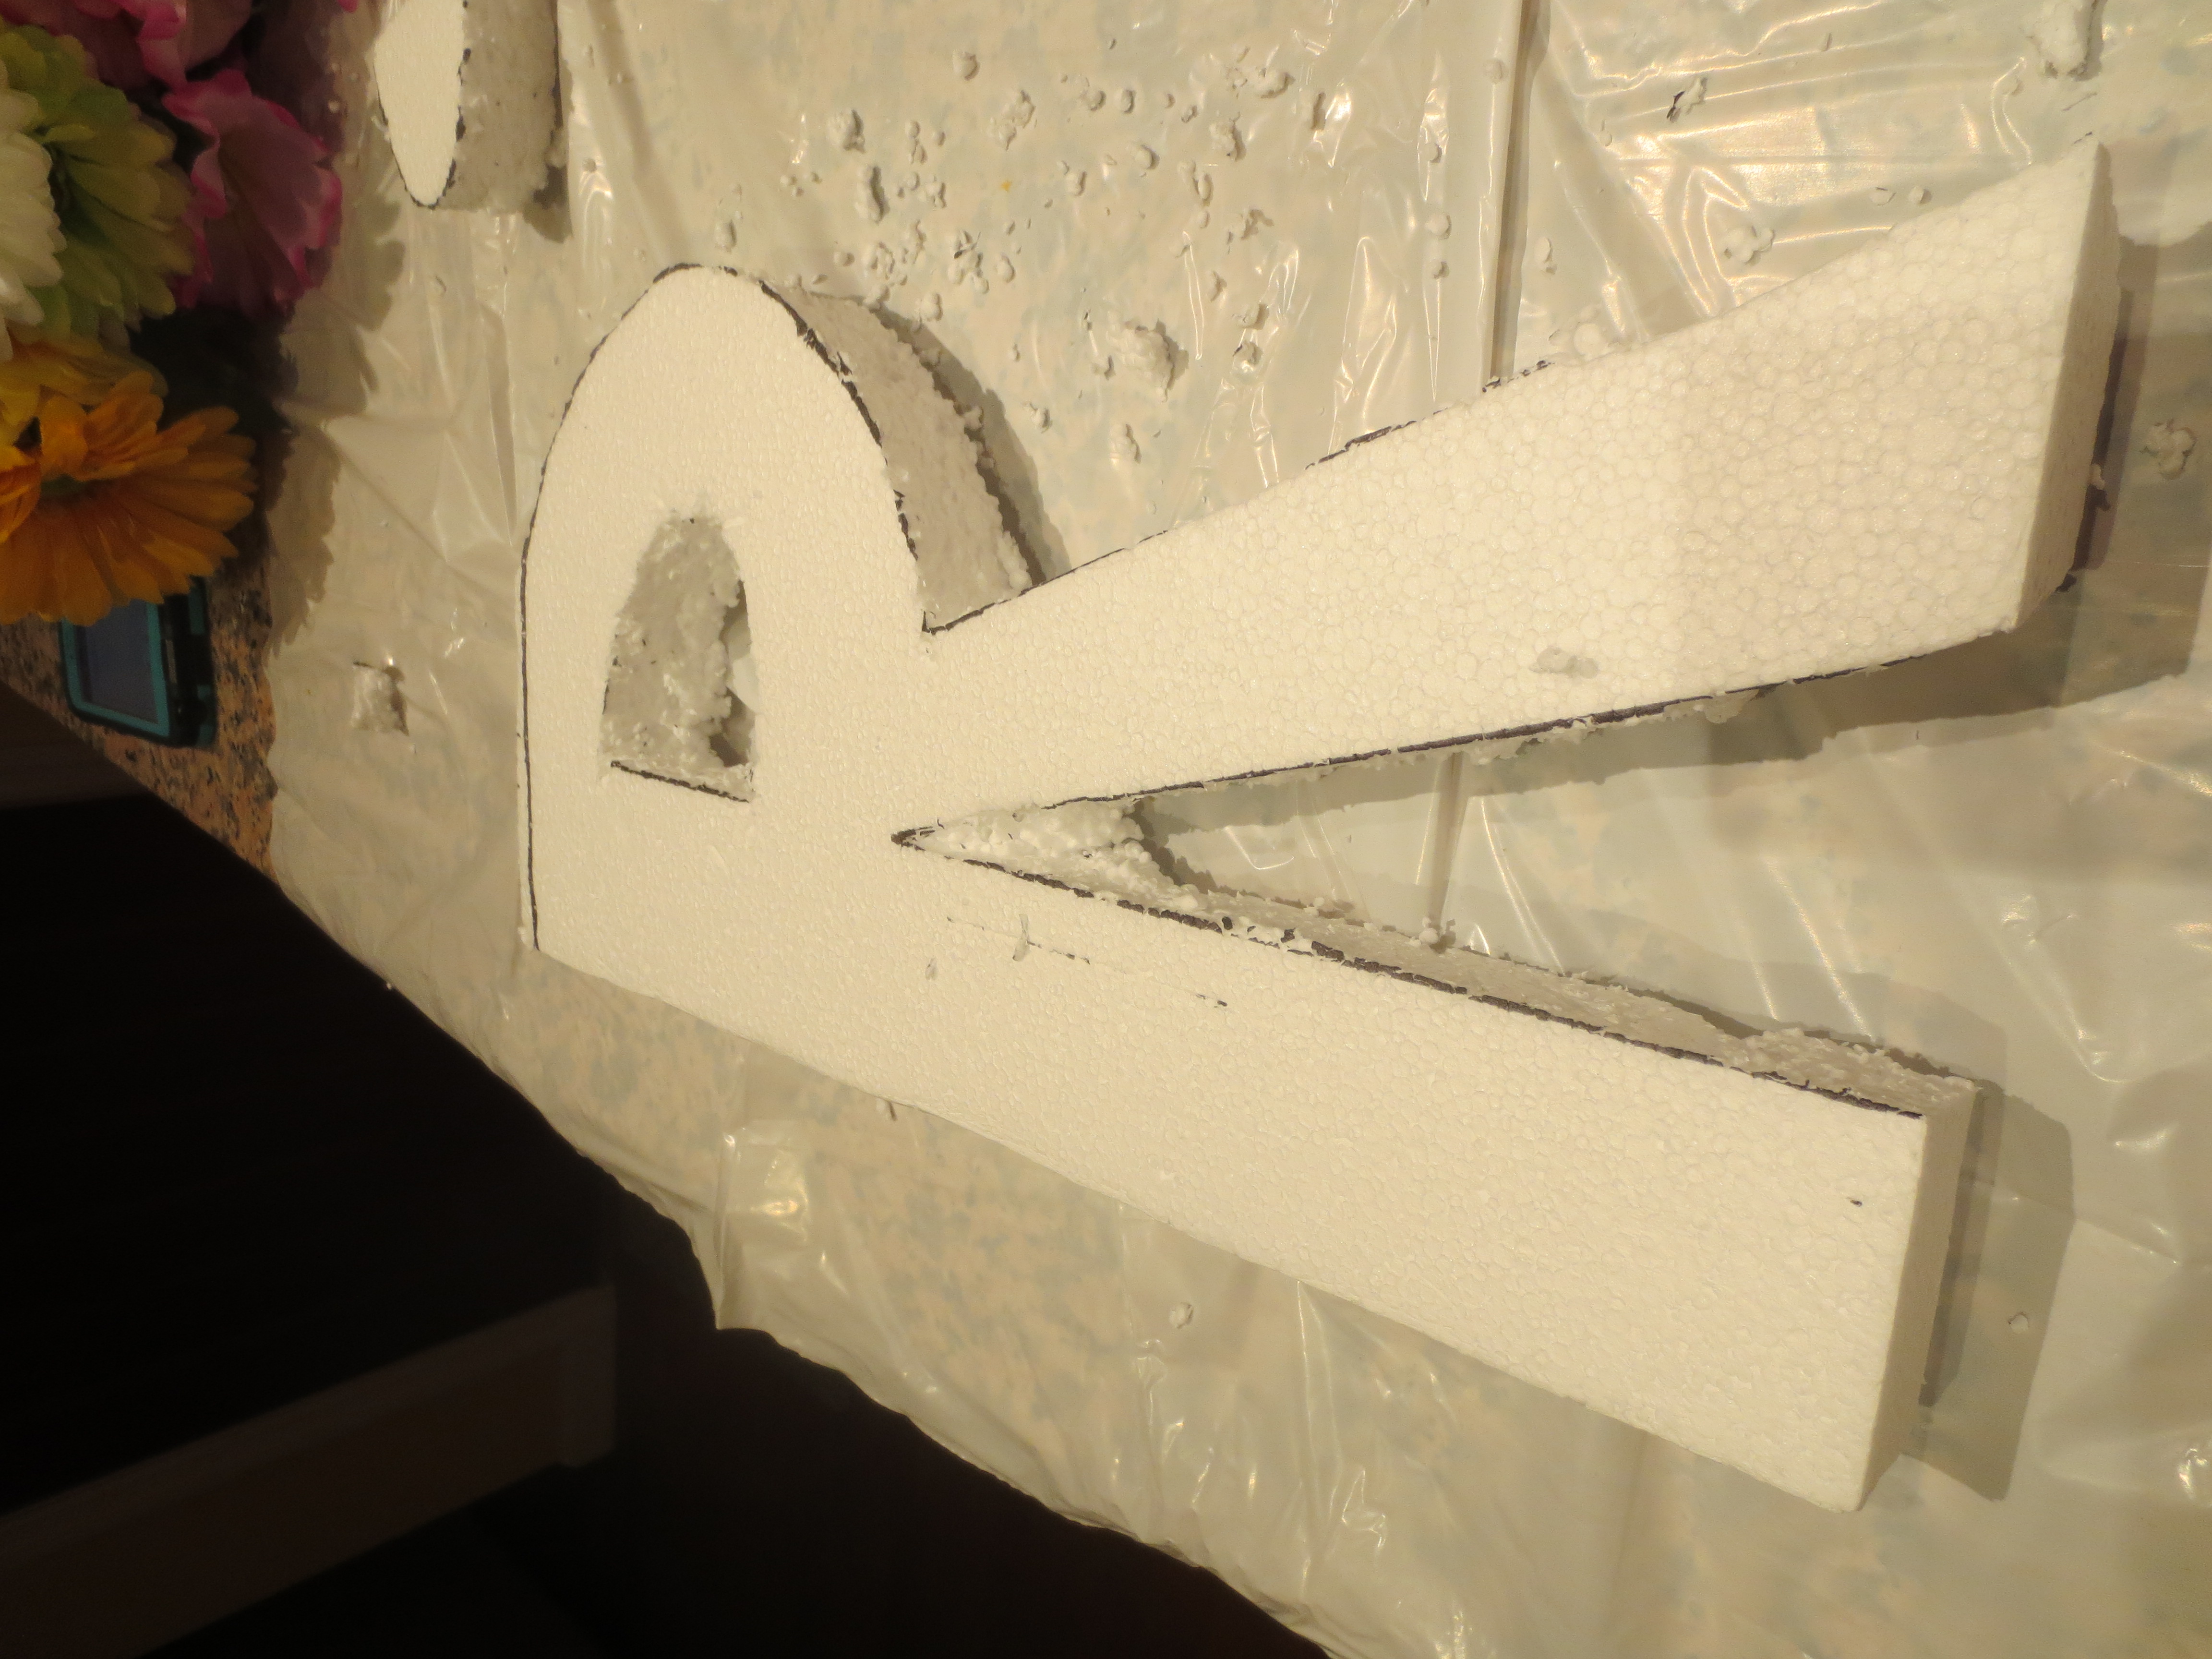
Next, it was time to start cutting out the letter. This proved to be the most challenging aspect of the project. My dad watched in amusement from the living room as I tried using a scissor and then a butter knife. Amusement turned to concern when I grabbed a sharper knife at which point he promptly took over the cutting process (I’m pretty sure he didn’t want to spend the night in the emergency room with me and half a chopped off finger). Direct quote from Dad: ” I’m going to put this away now because you can’t play with this.” Twenty or two? Just wondering. Either way, shout out to Dad for coming to the rescue!
Step 4:
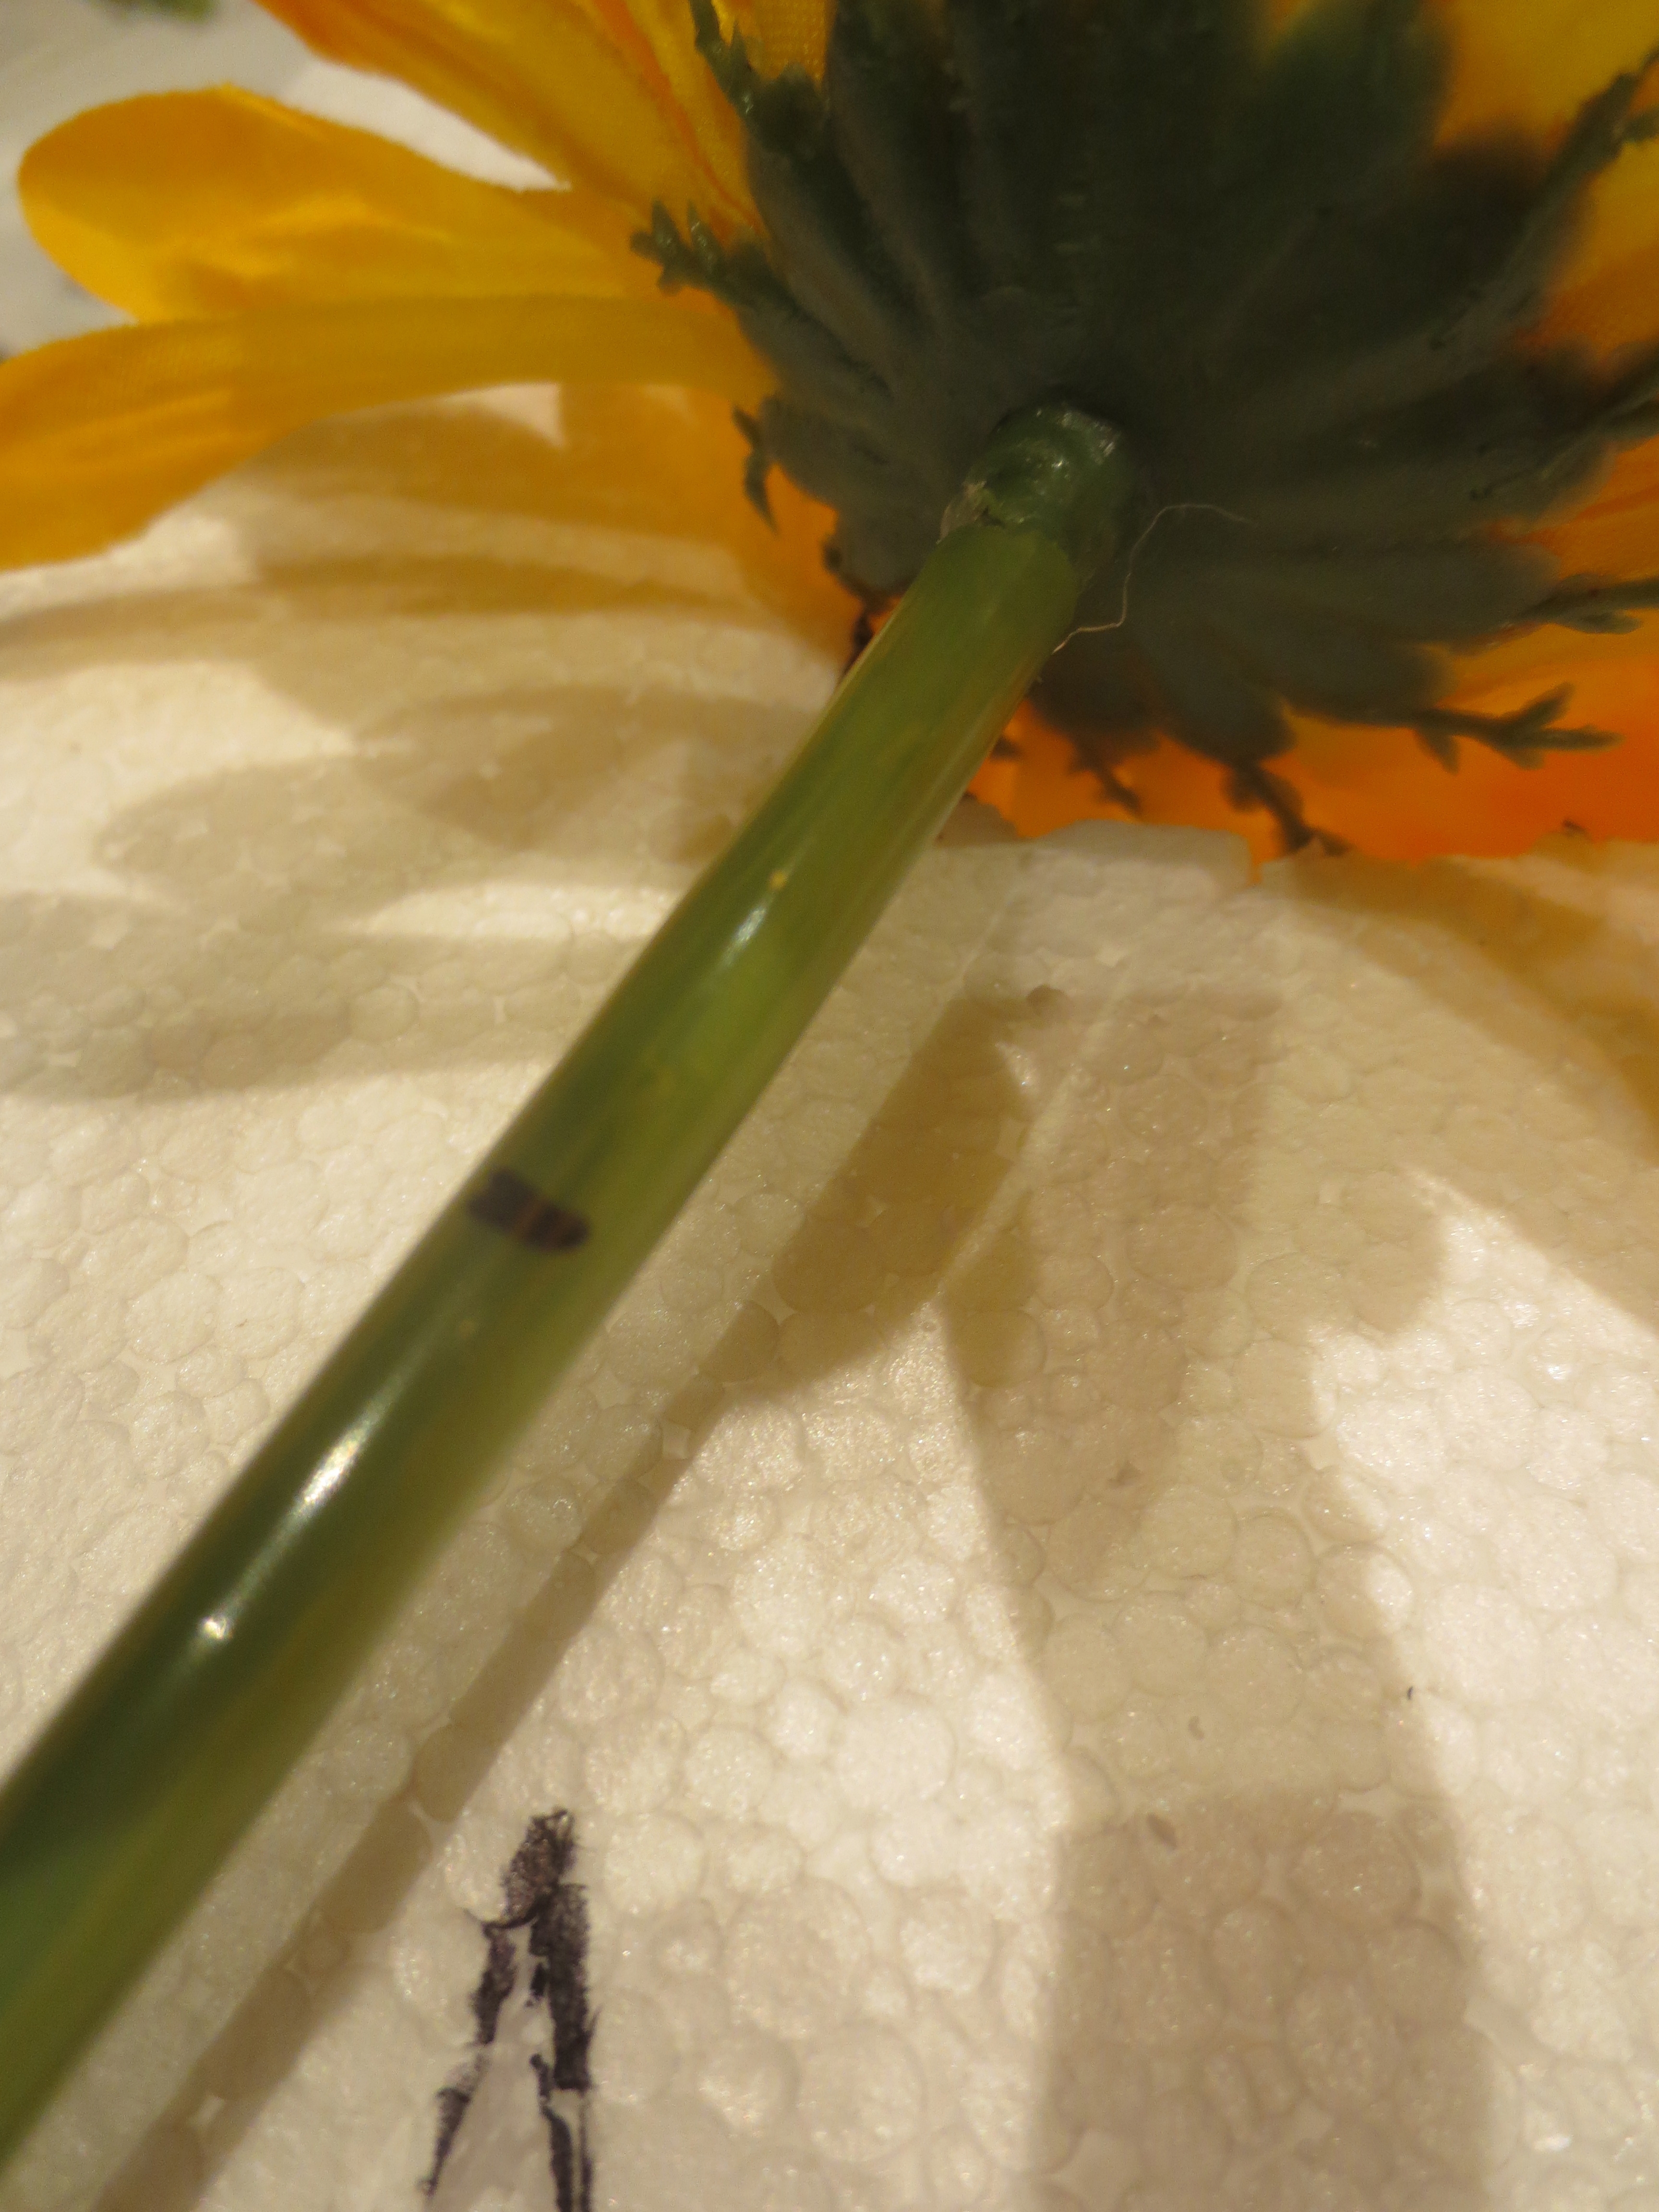
Next began what I thought would be the most fun part of the project. Again, nope. In my head the flower stems would be easy to cut off and would just stick right into the styrofoam. In reality, the stems were near impossible to cut since the had a sneaky little metal wire running down the length of it. After some cutting, twisting, and pulling I was able to separate the flowers from the stem. Positioning them on the styrofoam did prove to be quite easy.
Step 5:
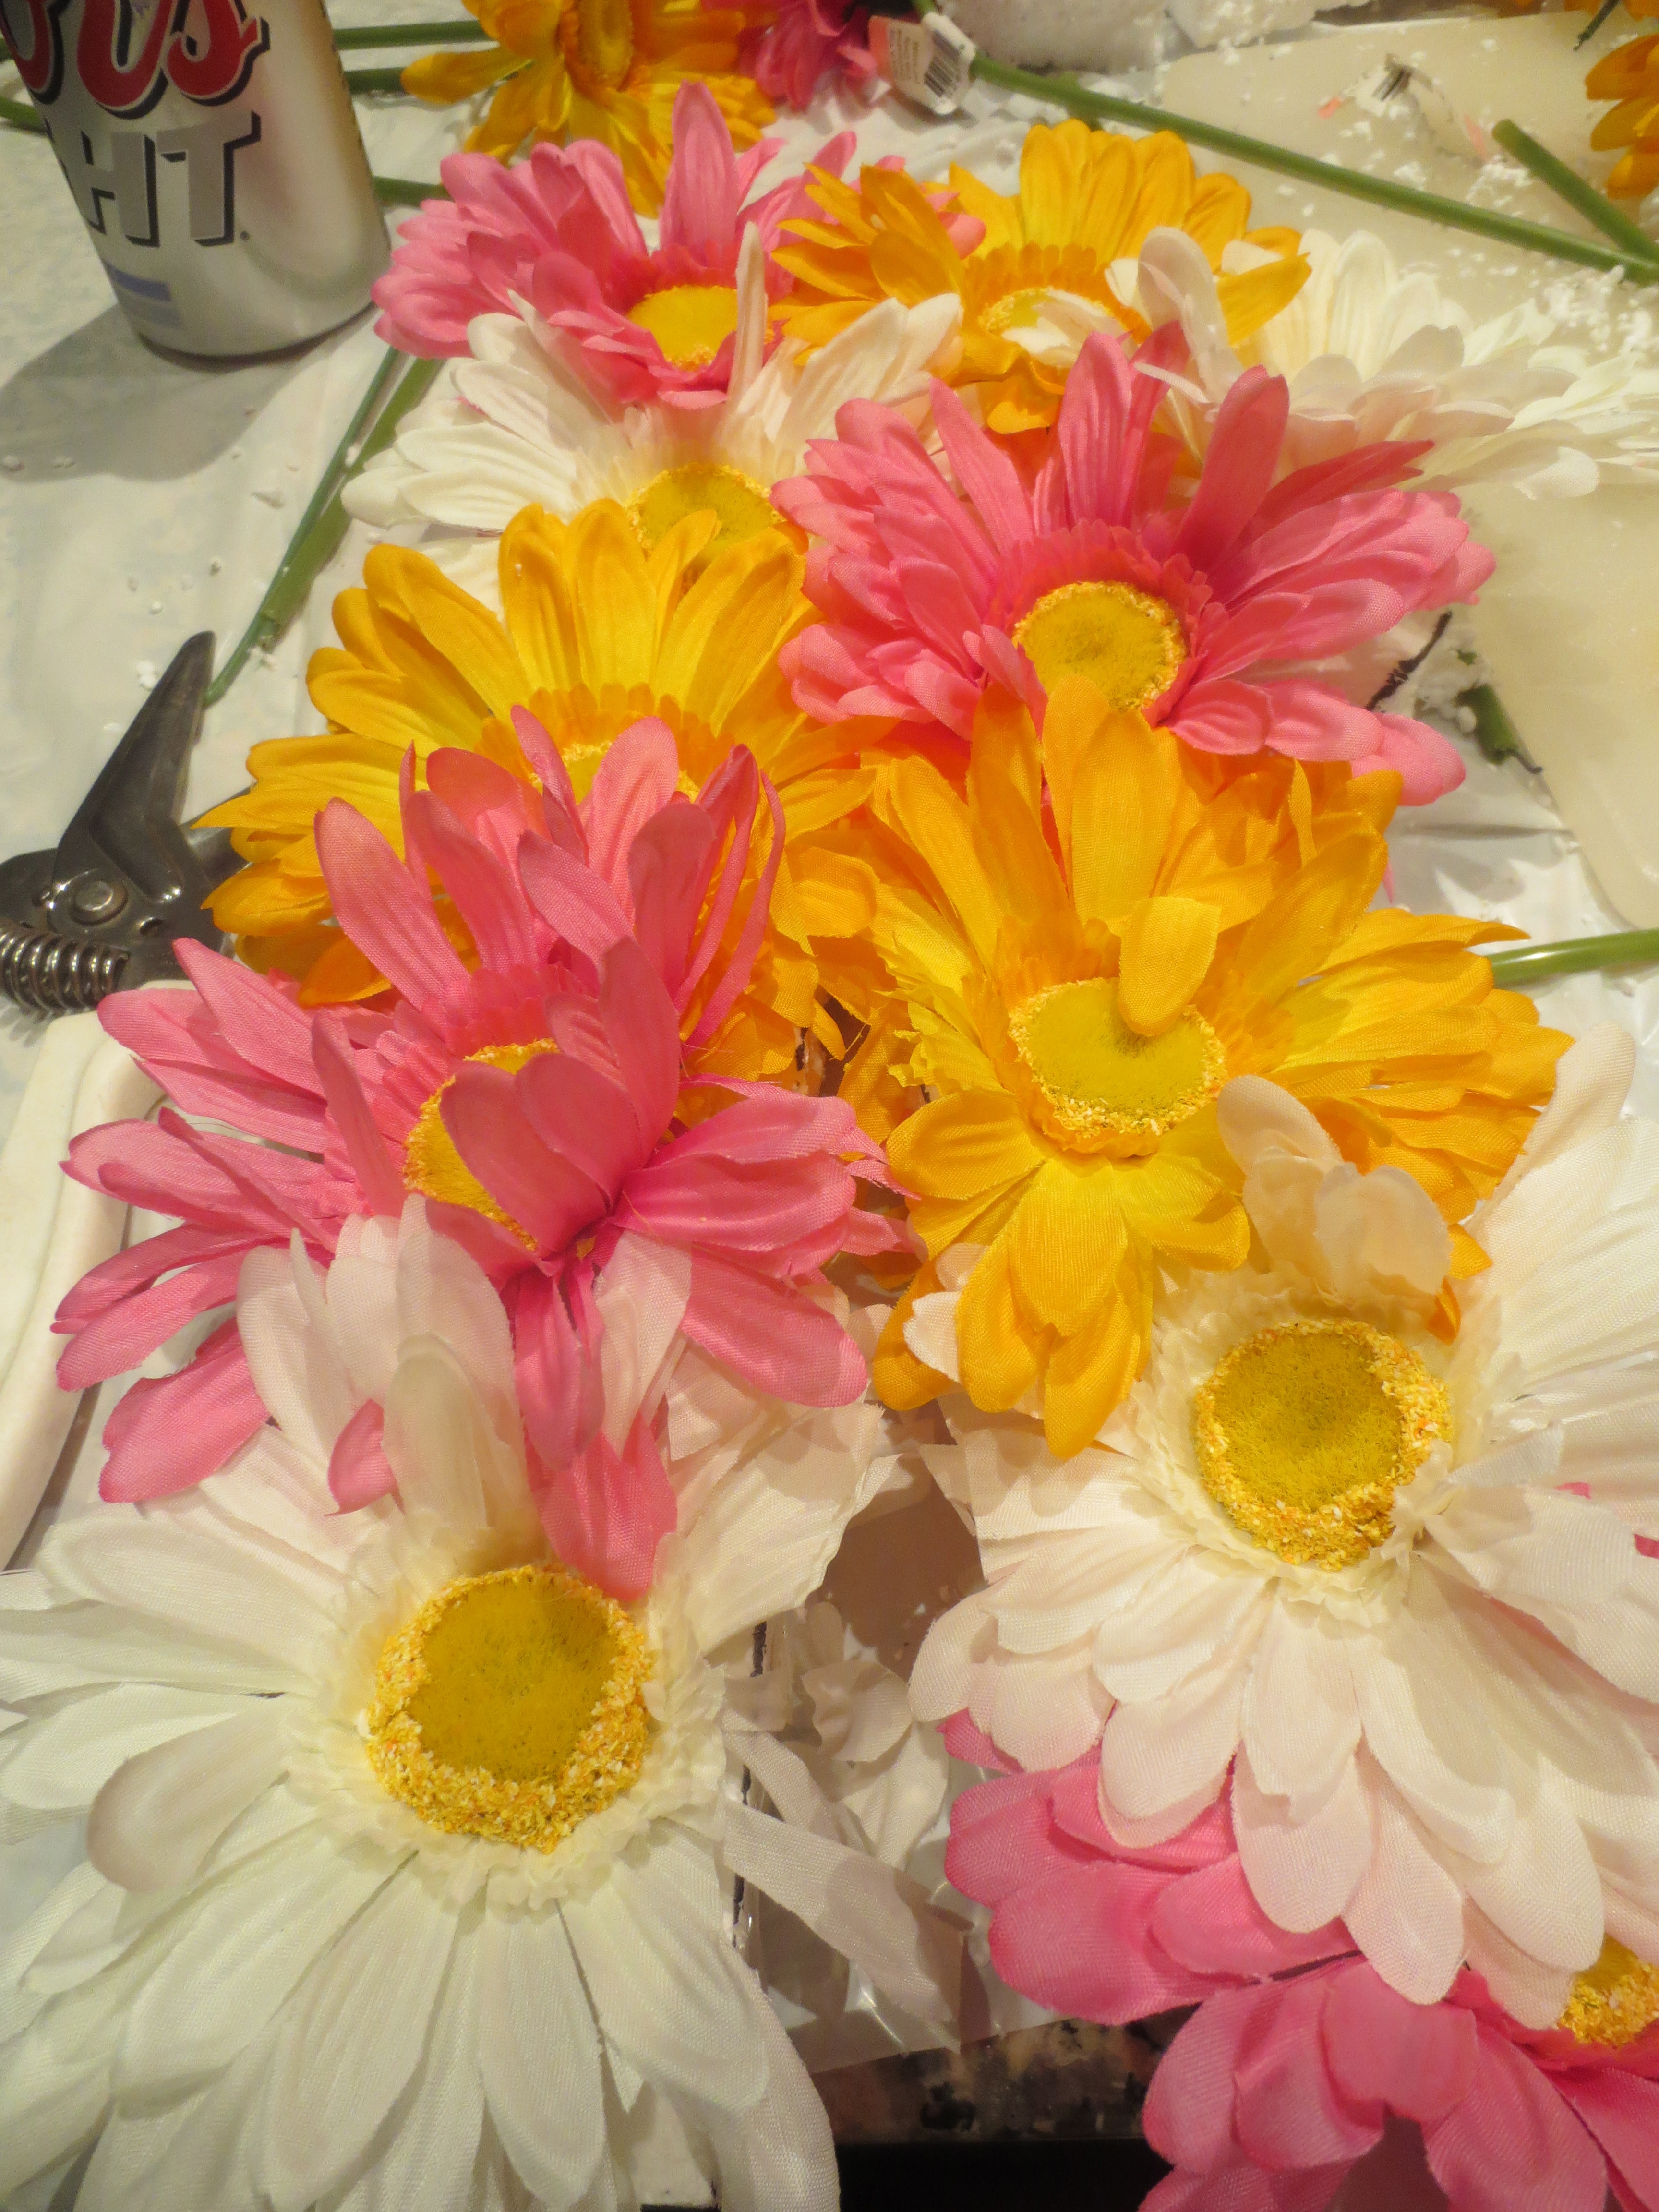
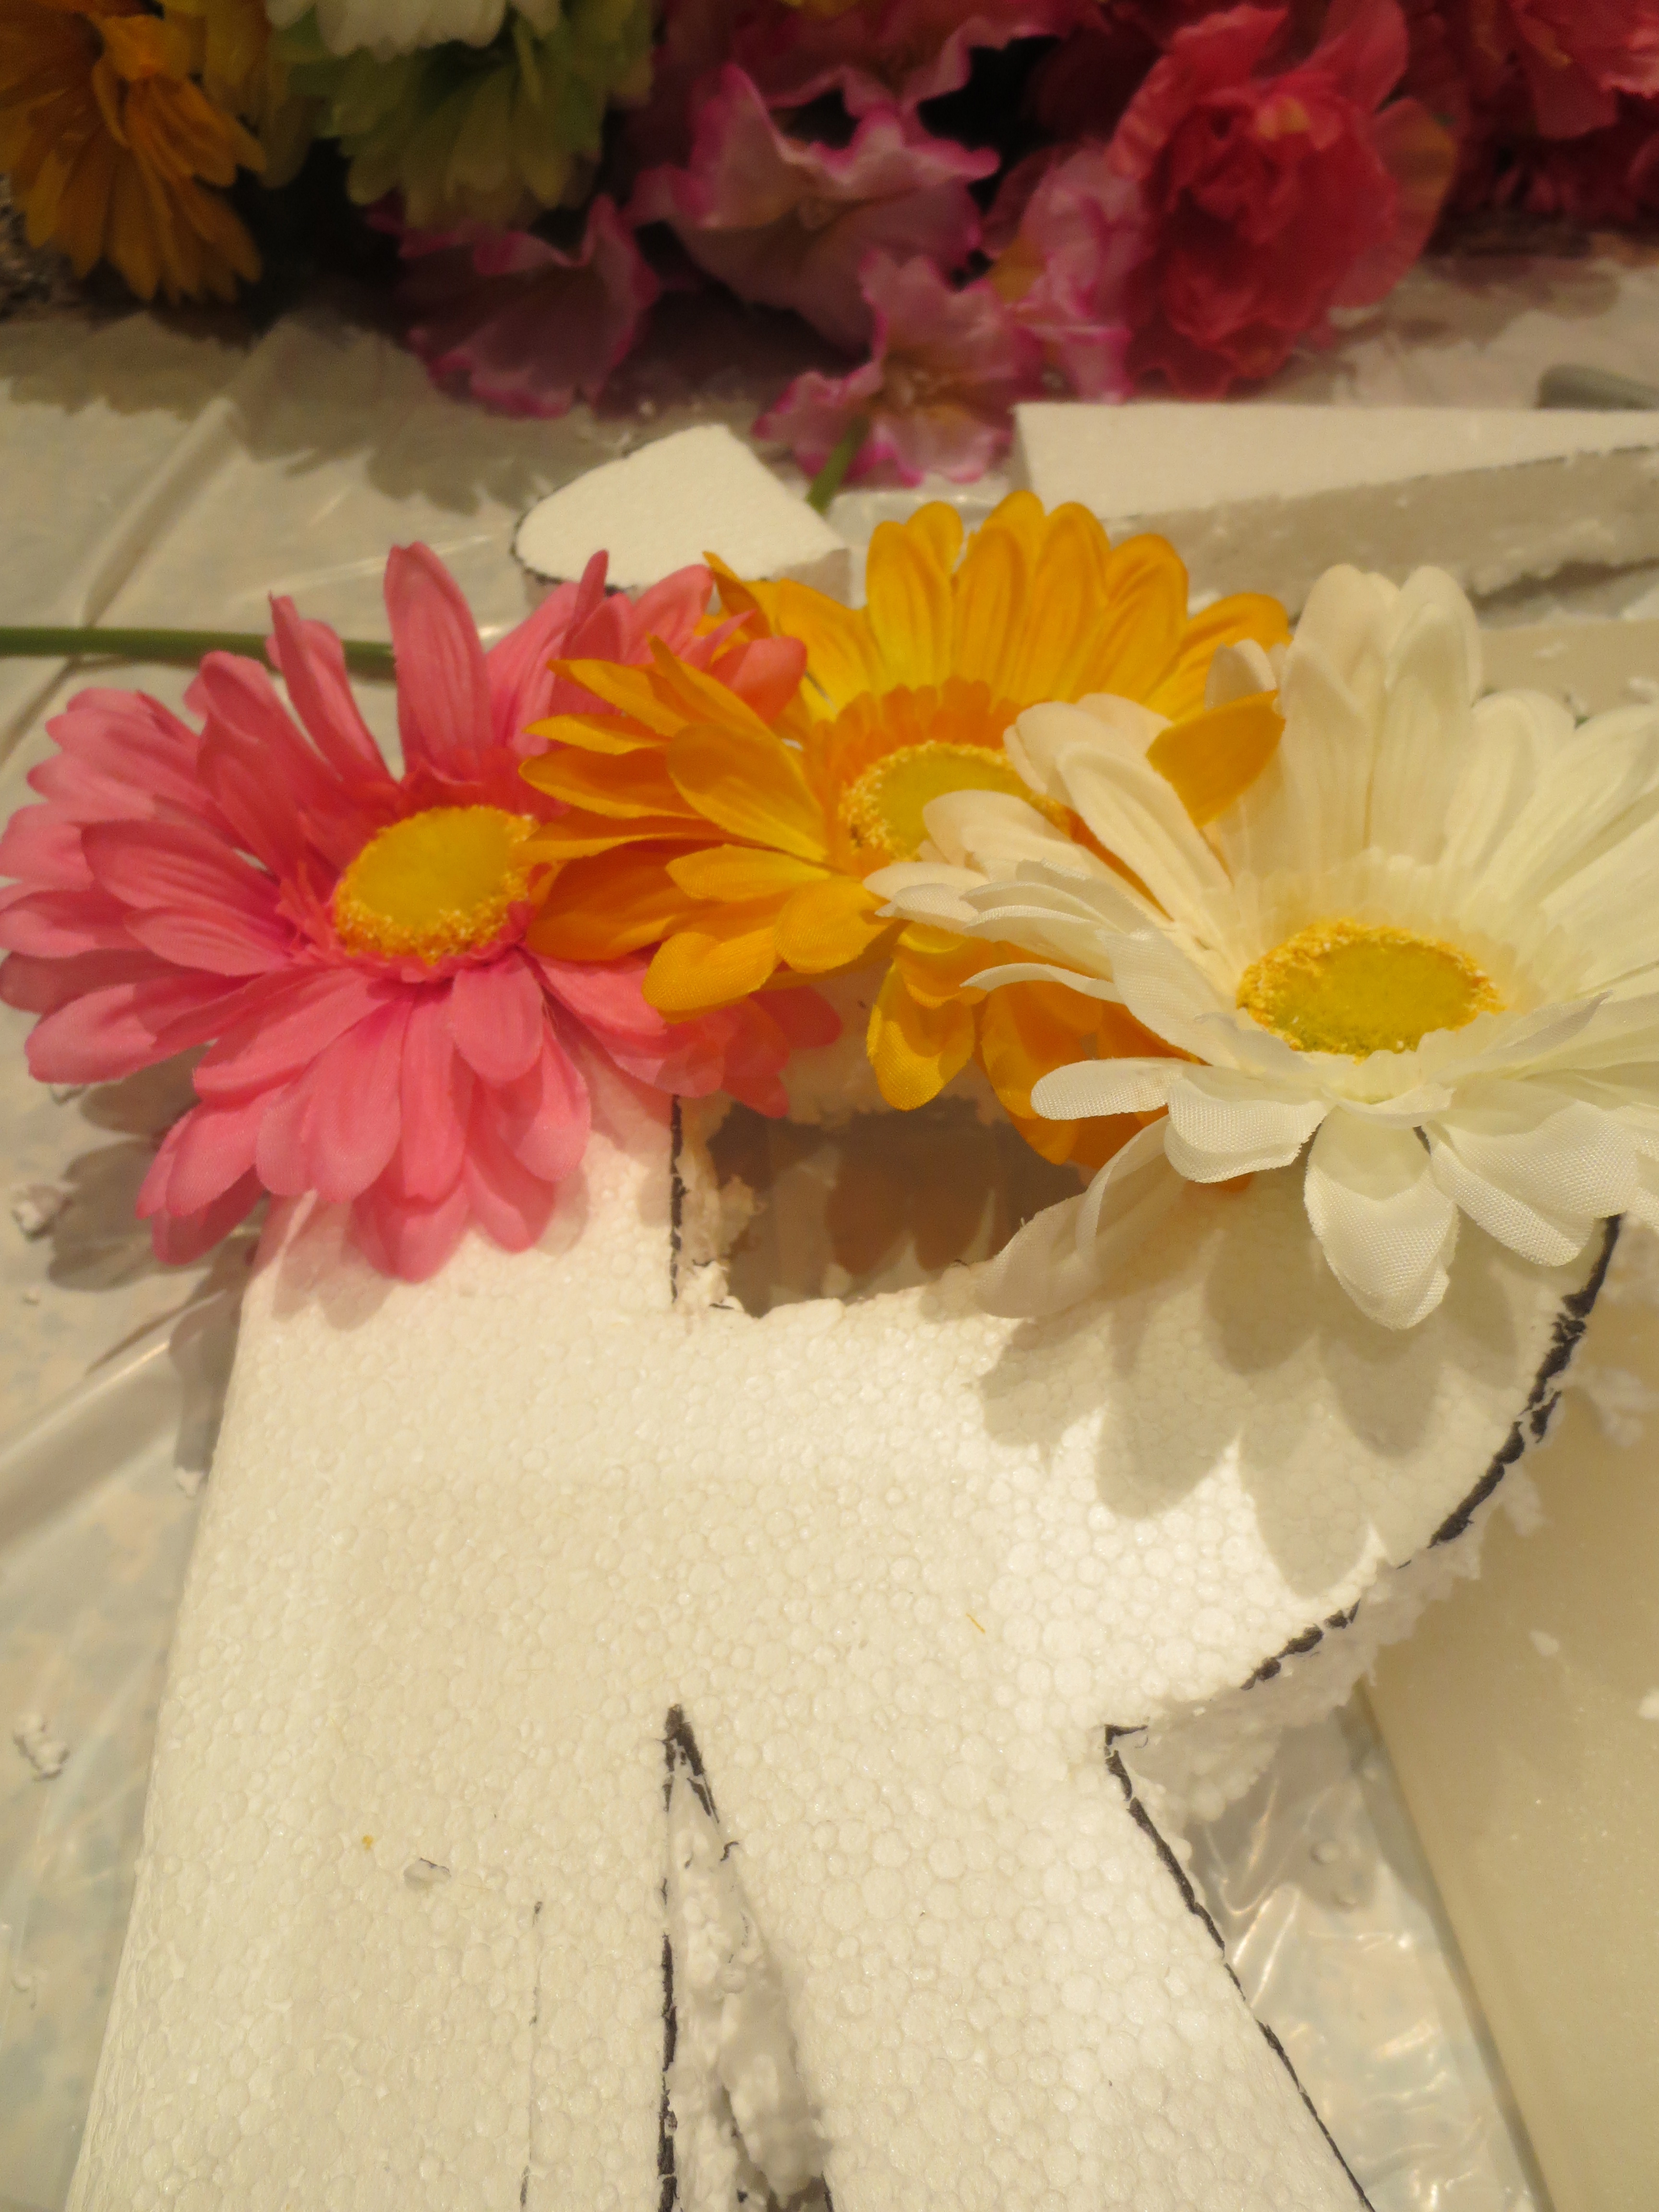
I actually lol’ed when I finished this project. After all that hard work, you couldn’t even make out the ‘R’ outline underneath the pile of flowers. *Note: This craft may drive you to drink, as per the coors light in the upper left hand corner.
Step 6:

Needless to say I was pretty unhappy with the final outcome of my ‘R’, so I took a break, watched an episode (or two, or three) of Castle (My new obession. Seriously check it out.) and then came back to this craft from hell. Ultimately, I ended up just cutting off some of the petals to help show the outline of the ‘R’, which helped a little but still wasn’t fantastic. Either way, I’ll probably still hang it in my apartment next year!
I learned two things from this craft:
1) Never bite off more than you can chew. I bought enough supplies to make my entire name. After 4 days of sitting on my kitchen island, and only one sad little ‘R’ to show for it, my mom strongly encouraged me to relocate the mess. Sorry Mom!
2) Pinterest is a LIAR. Nothing is ever as easy as it seems. If I’m crazy enough to try another Pinterest craft in the future, I will definitely pick one that has step by step instructions for dummies like me.
So, what do you think? Would you try this project? Do you have a favorite Pinterest craft that I should try? Let me know in the comments. I love to hear from ya! Also, be sure to follow me on Pinterest to see some of my favorite beauty and fashion trends!
