
Friends! I have missed you so. First, I’m truly sorry for the delay in putting up this post; senior year has turned out to be far more hectic than I anticipated. Here are a few highlights from this past month: I almost got hustled by a monk in the city, someone pulled a tree out of the garden in my apartment complex at the first big party of the semester (yes, a tree; our landlord was THRILLED) and of course attempting, somewhat unsuccesfully, to avoid senioritis. It’s been a fun month, but I’ve missed writing for you guys dearly so I’m herby promising not to let that much time lapse between posts again! P.S. to keep up with my ridiculous life on a more daily basis be sure to follow me on Instagram @loansandlouboutins. Now, all this fun has led to this chick bringing broke betch to a whole new level (pasta all night errynight). This was particularly problematic when I was decorating my apartment so I decided to get a little crafty with my jewelry storage. Check out how I took a junky storage container and an old Lilly Pulitzer planner to create an adorable jewelry box!
Step One
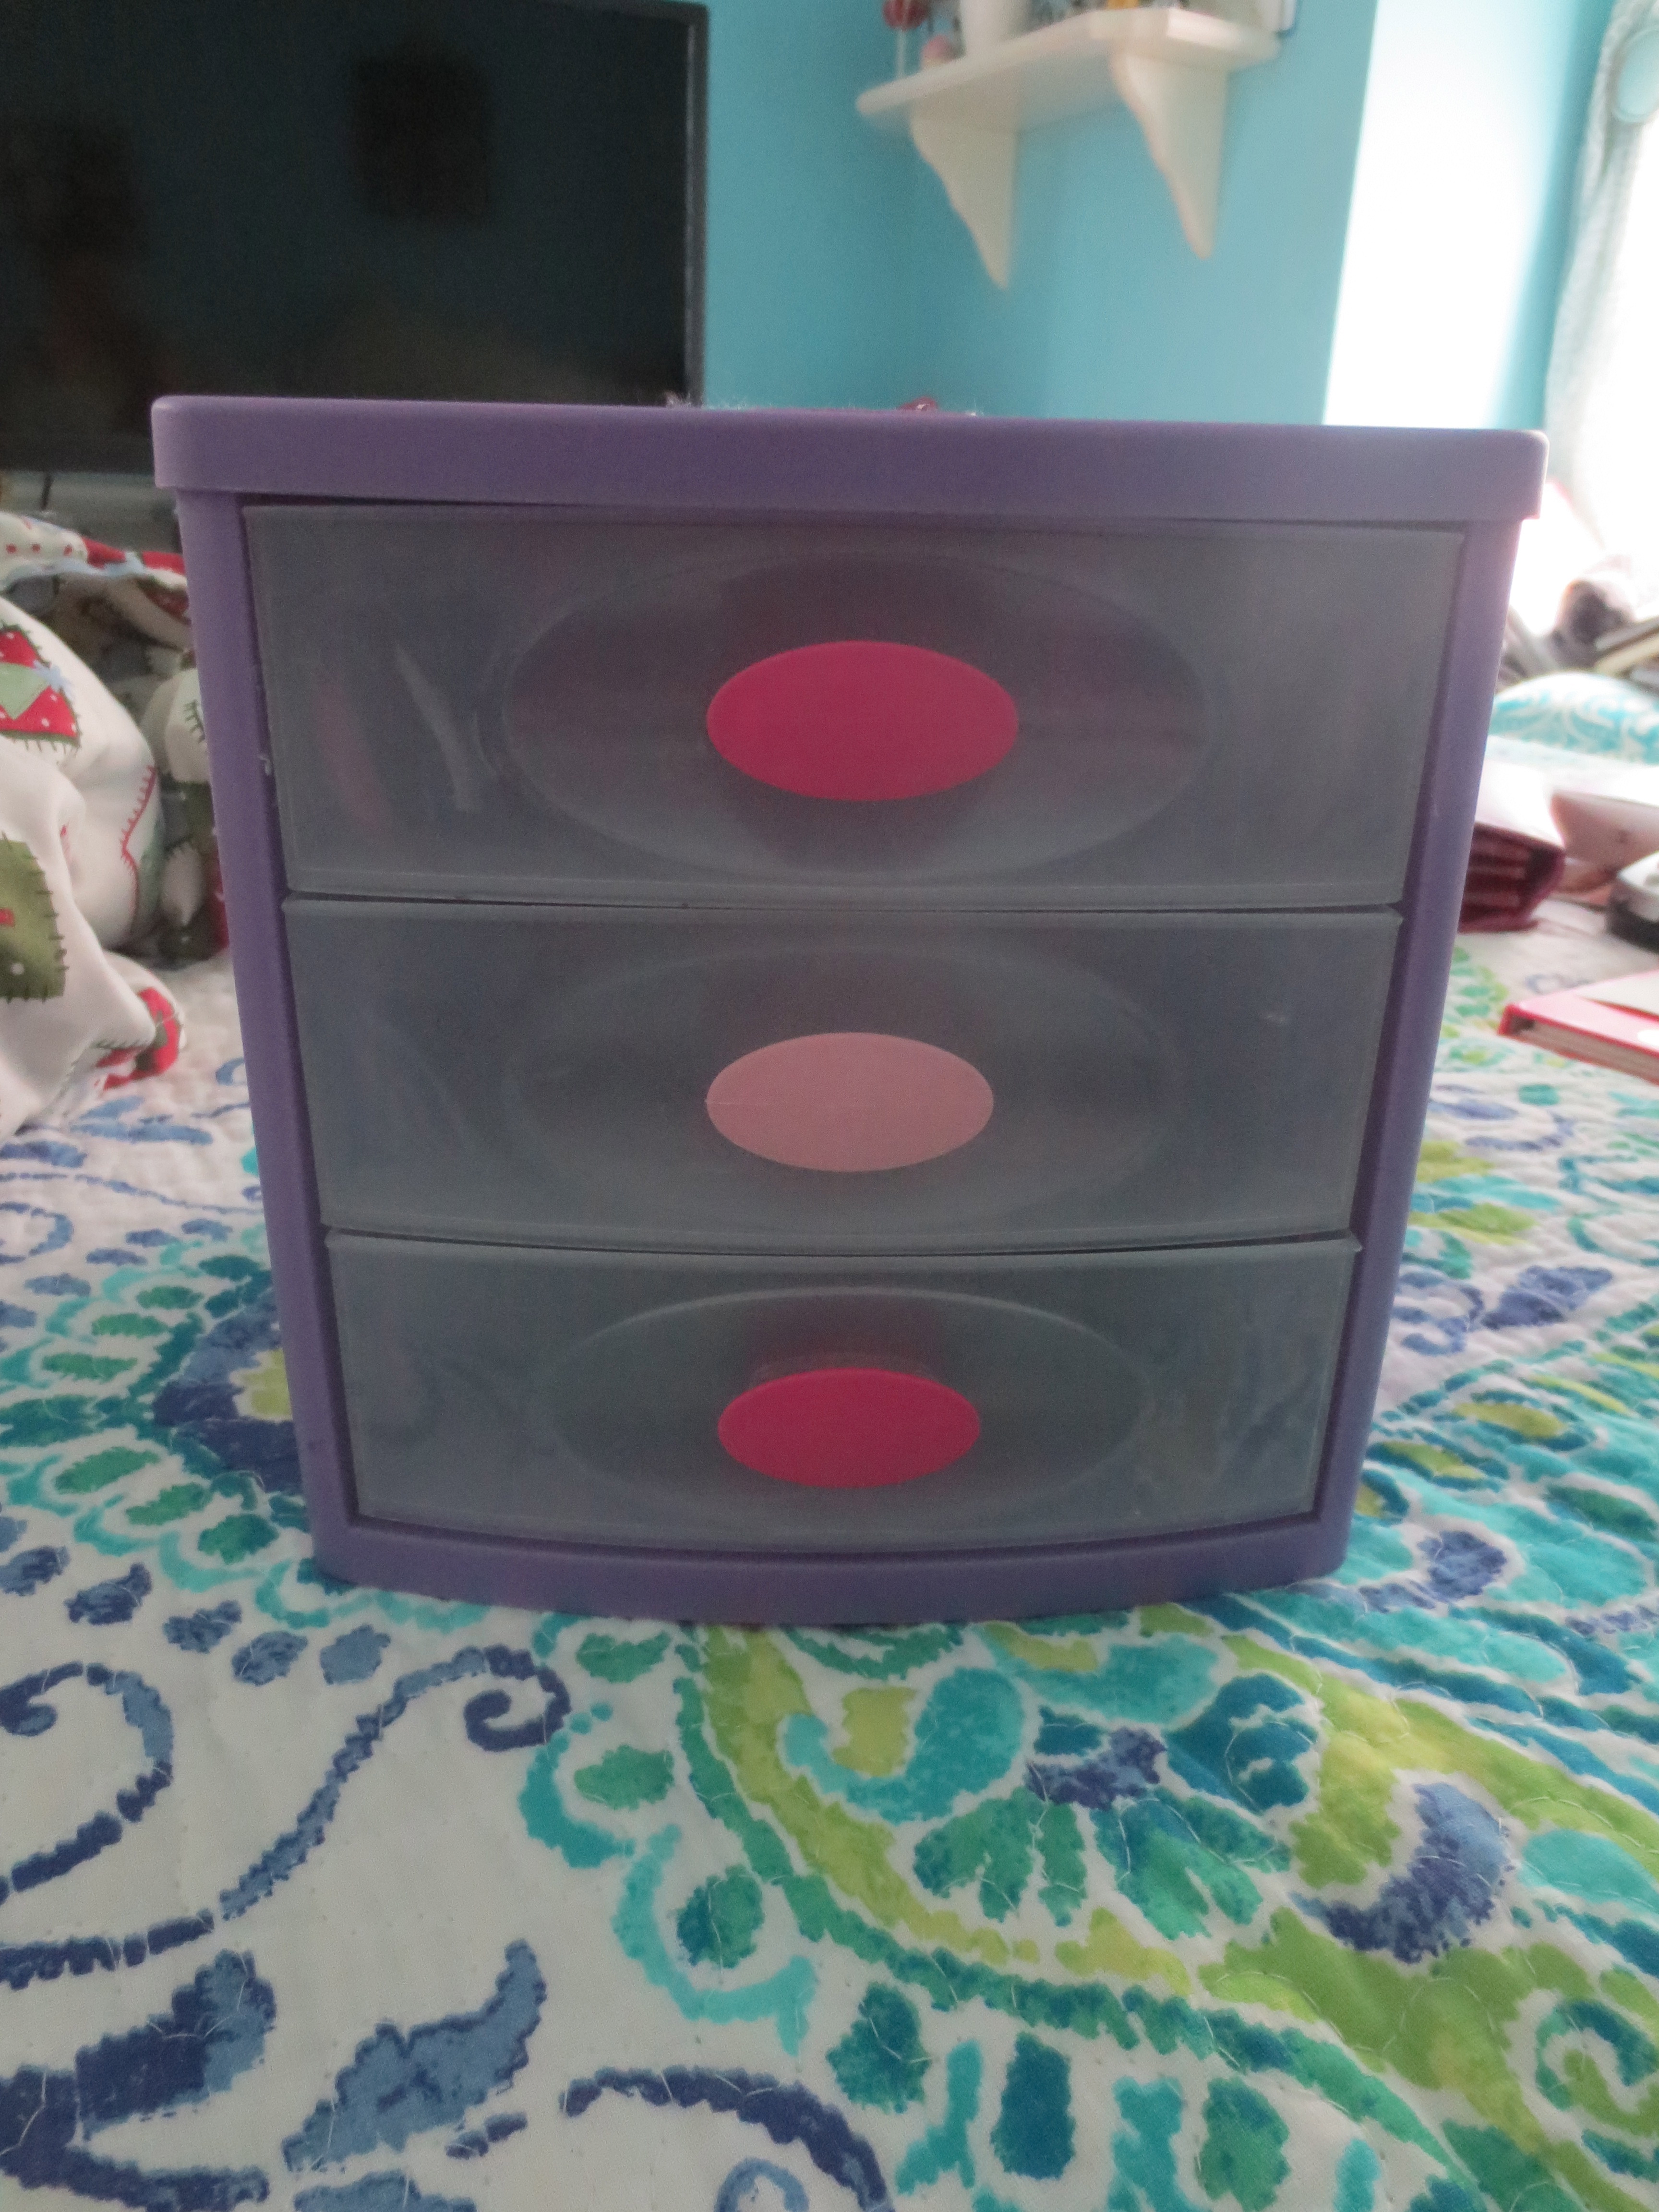
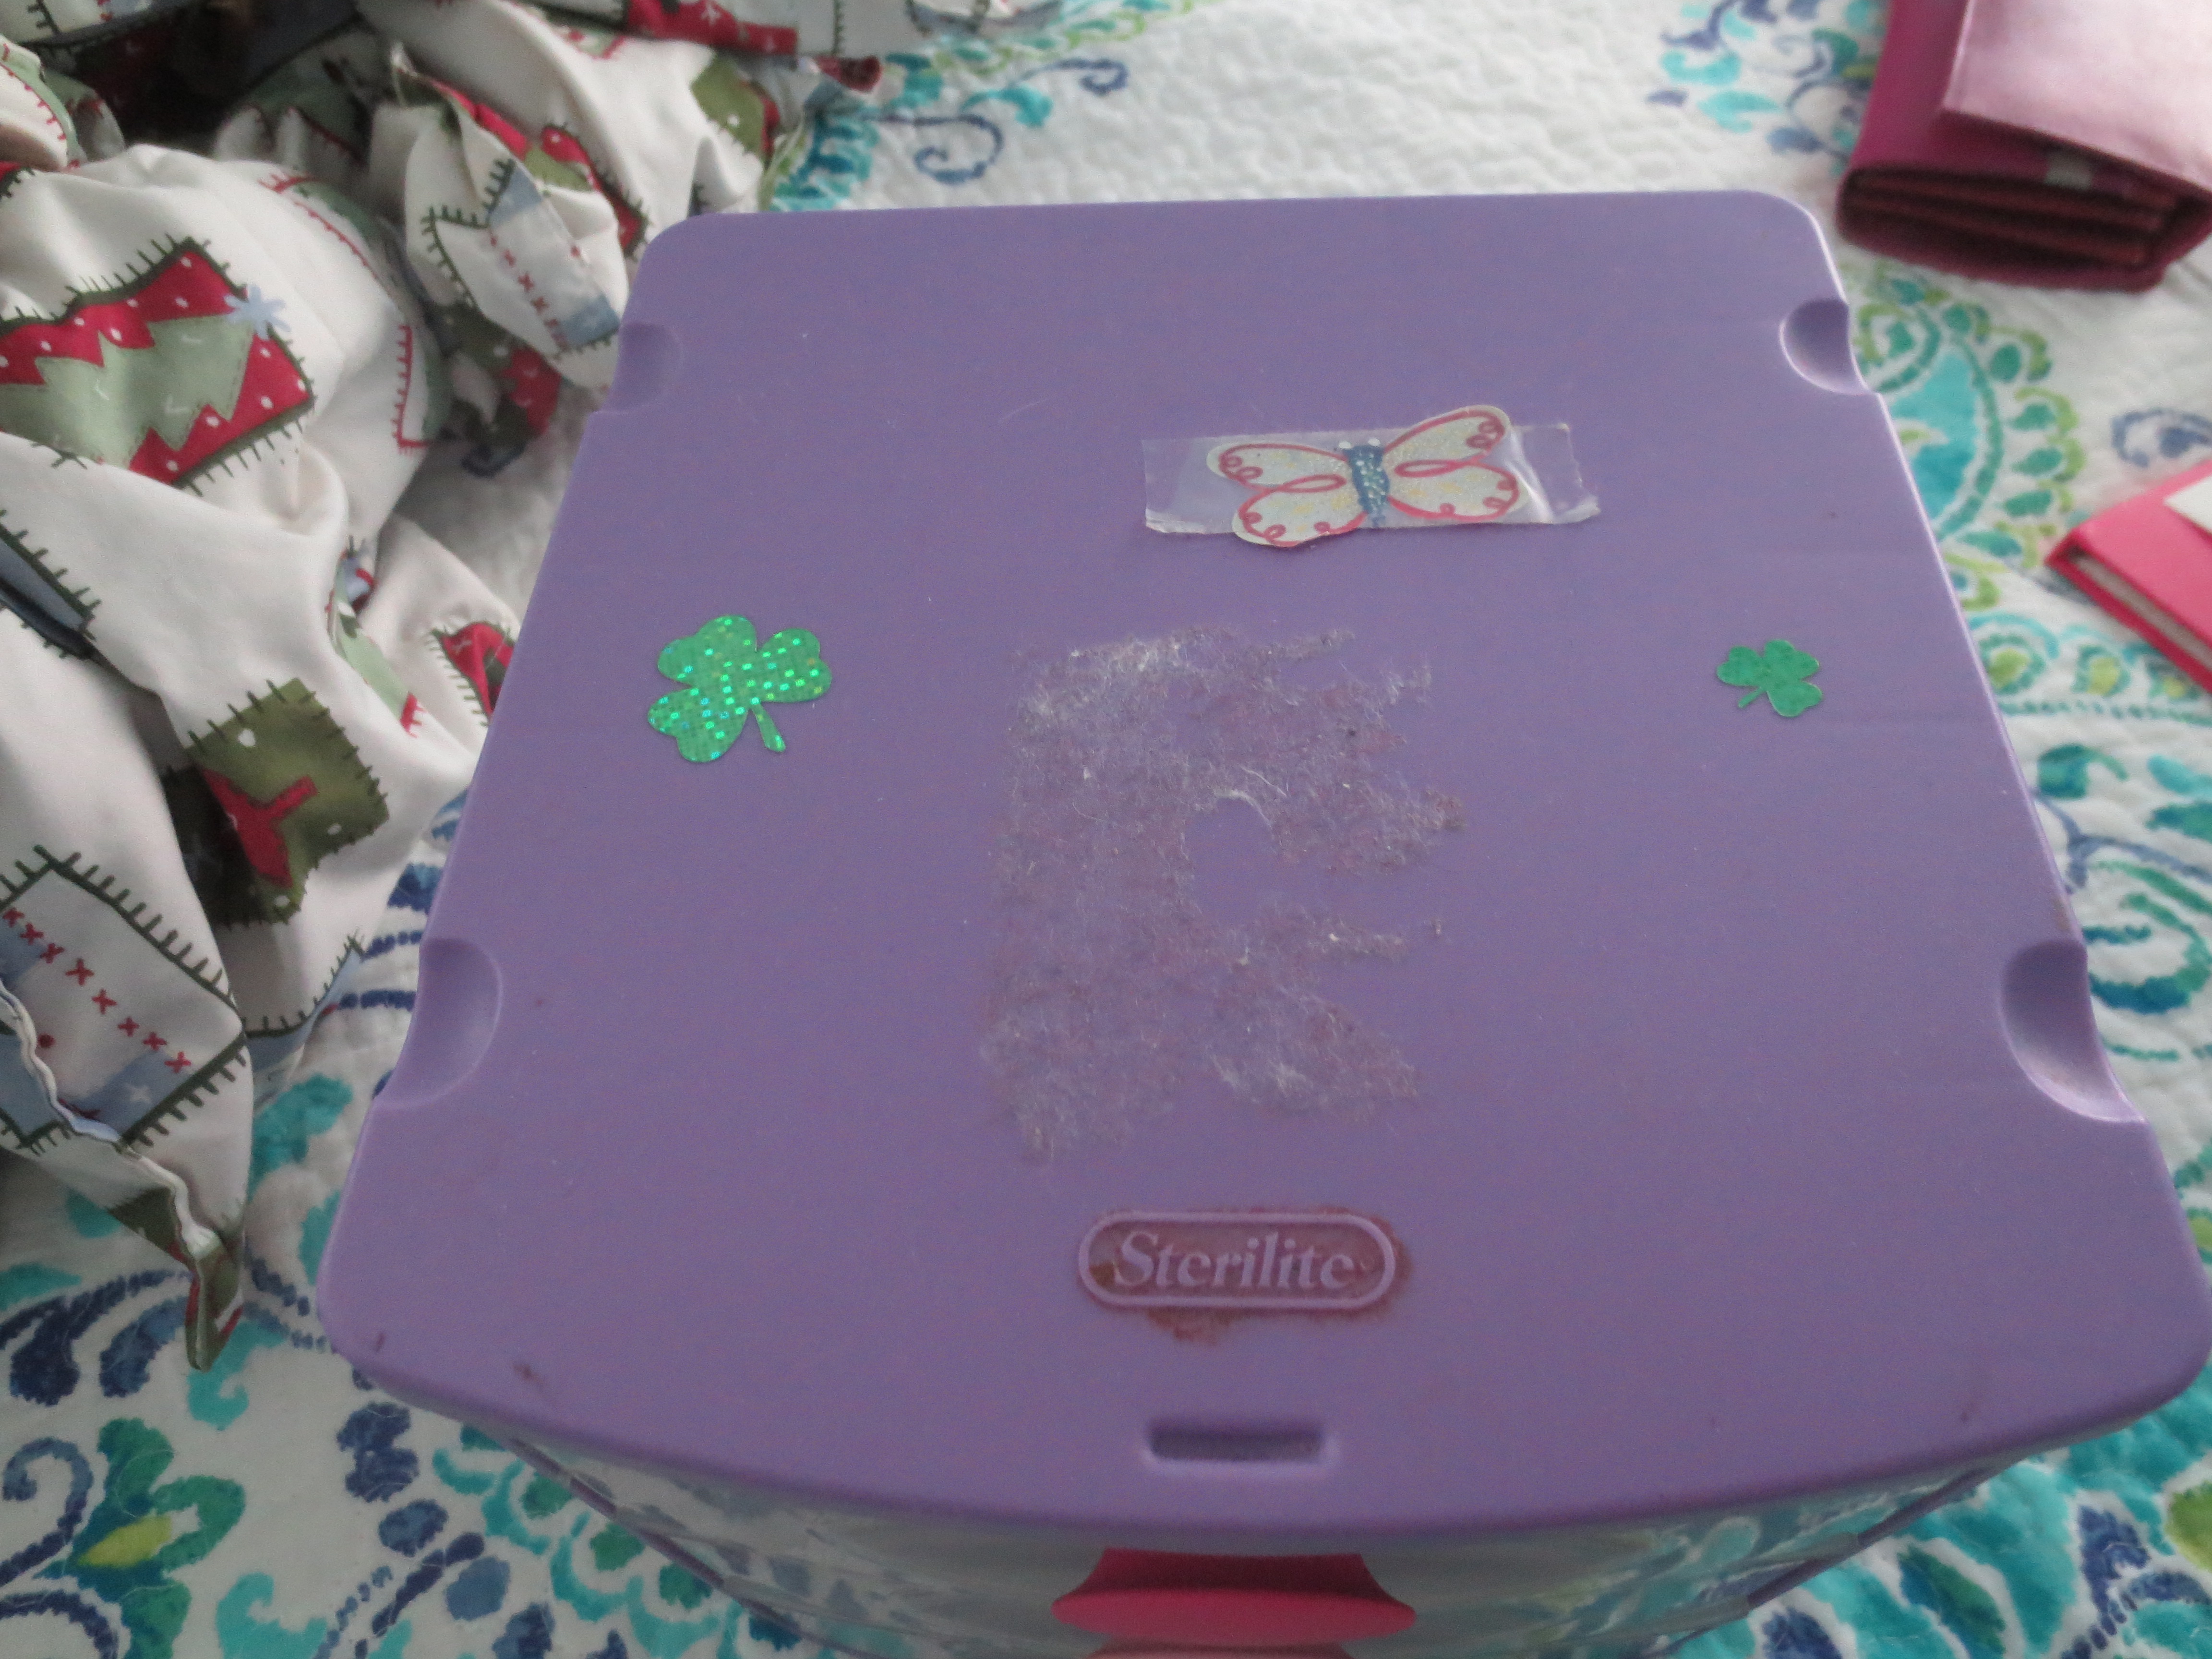
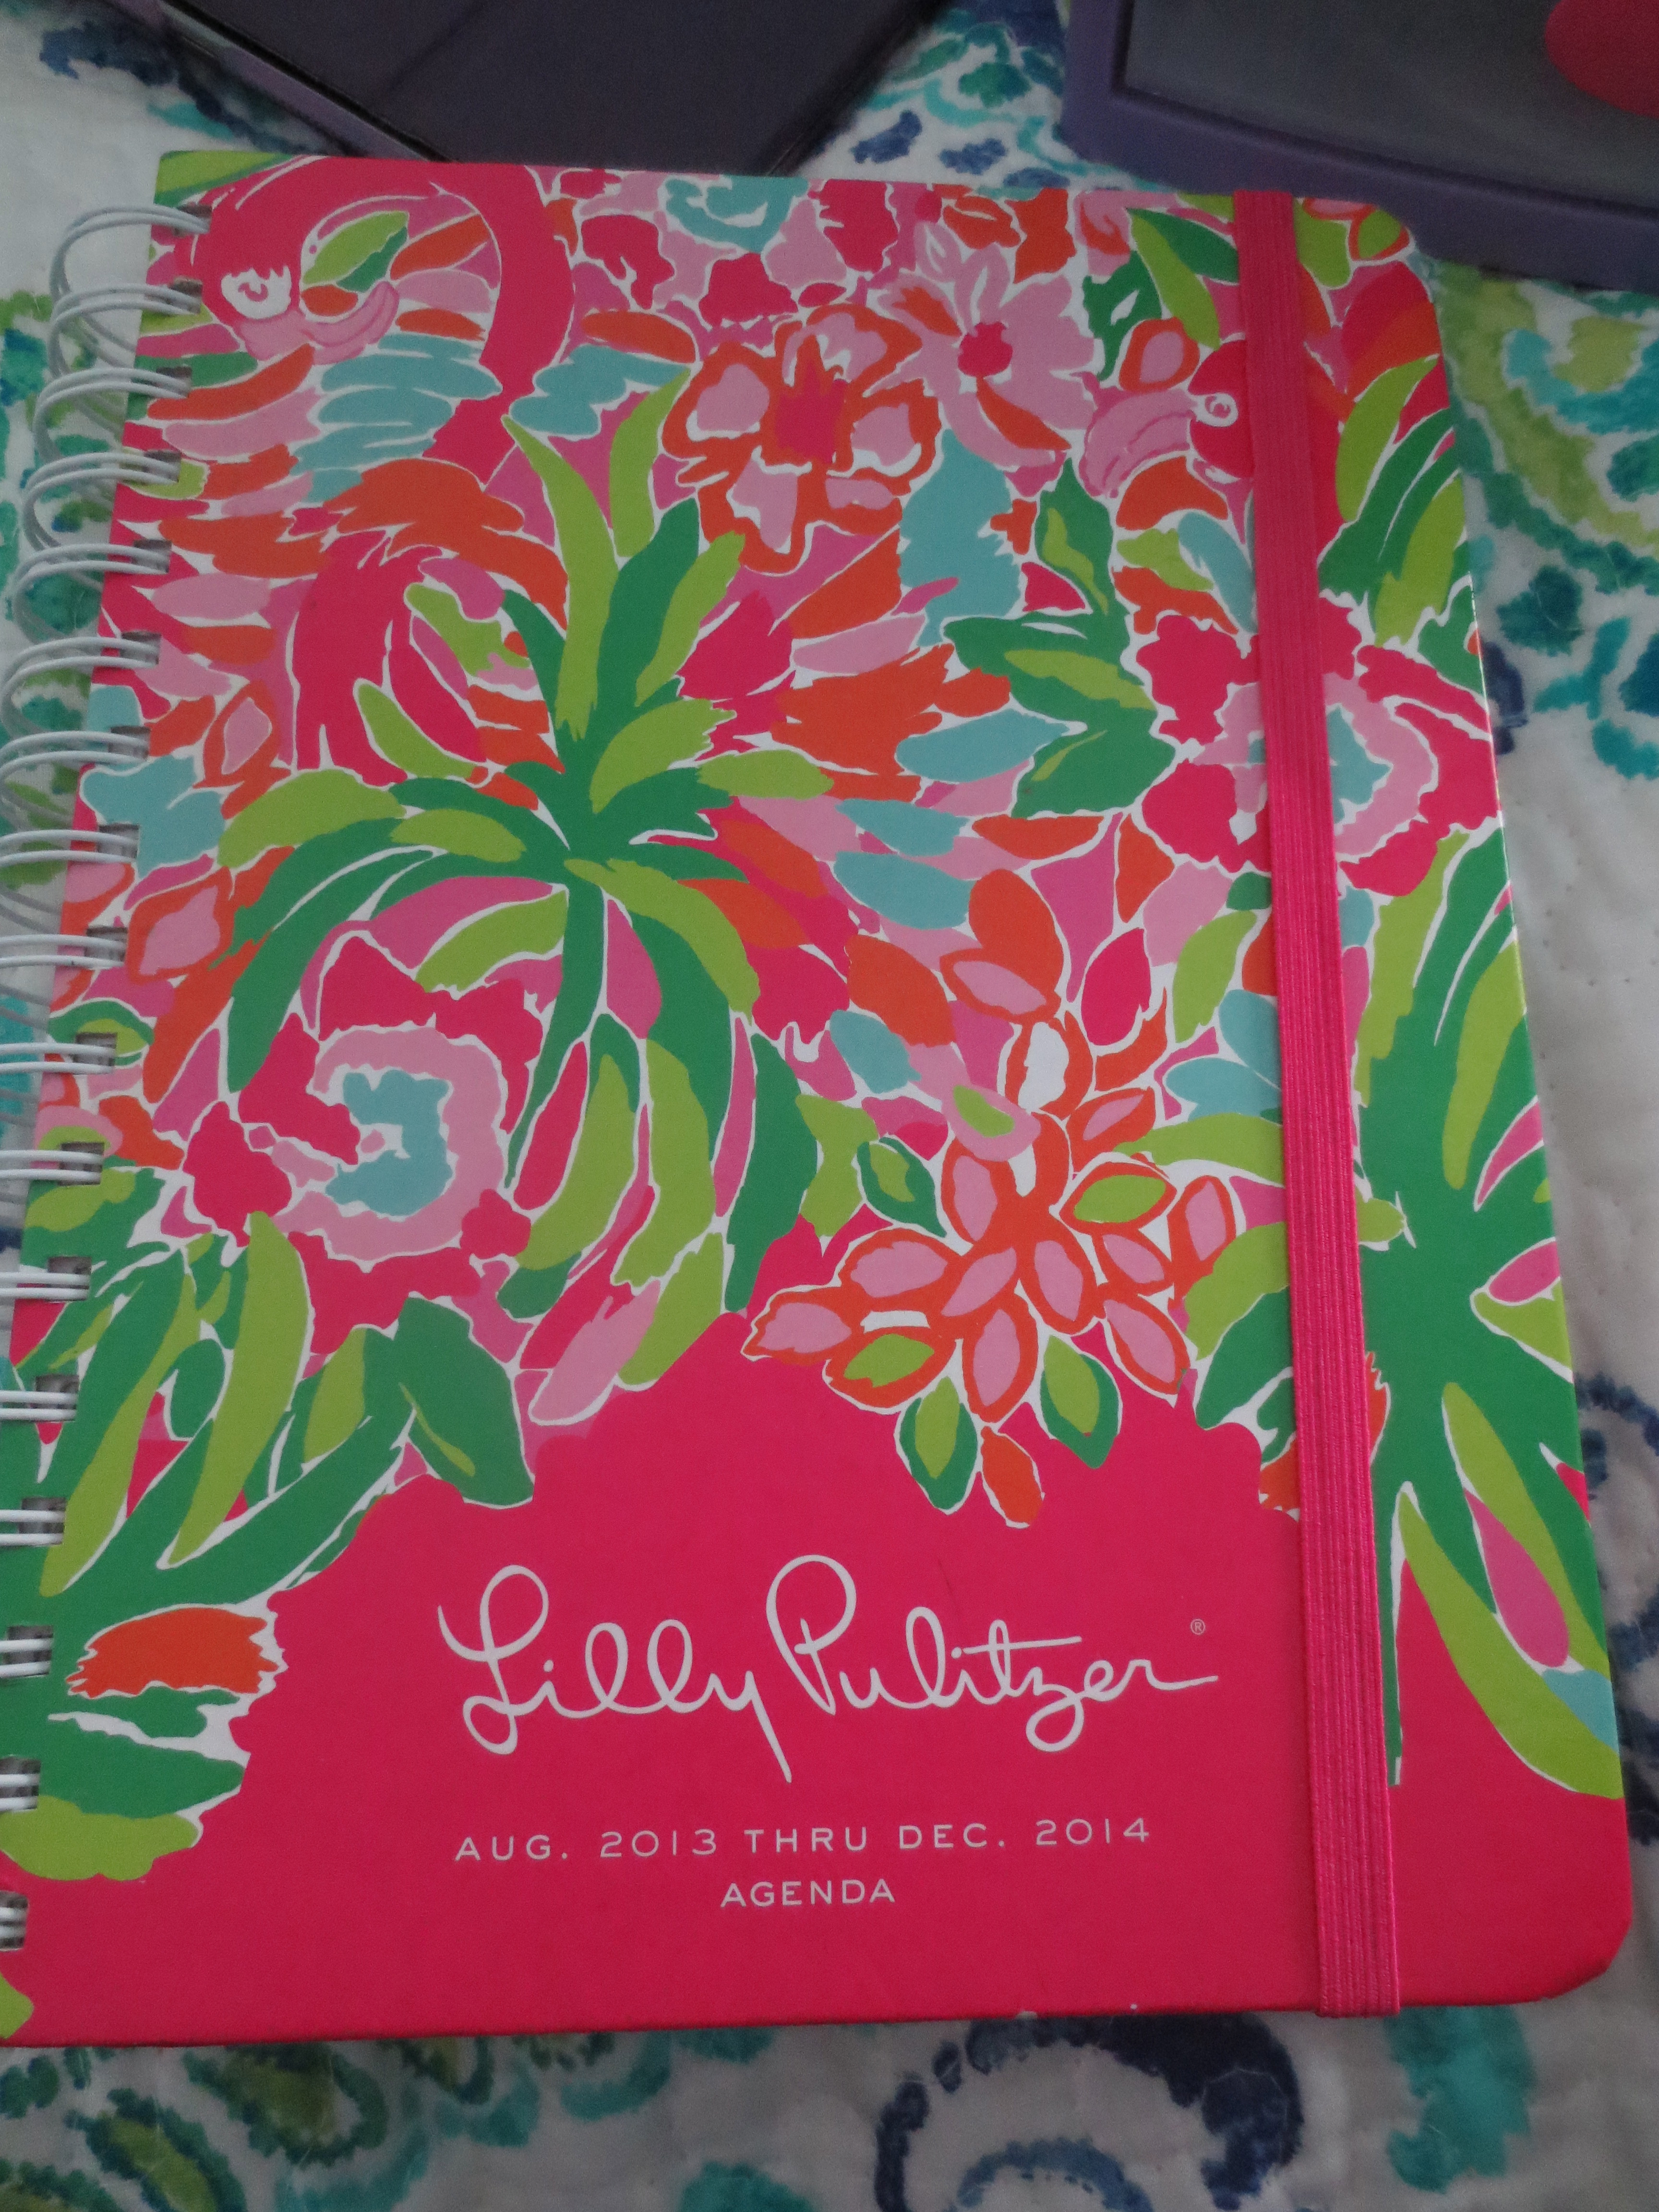
So I found this little storage container while cleaning out my room over the summer. I’m not sure when I decided to decorate this box with butterfly and shamrock stickers but lets just say it’s not so cute for a 20-year-old. I figured I would just toss it, been then I realized I needed something to keep my jewelry in at school and that’s when this idea struck me. My Lilly Pulitzer planner from last year had so many cute pages that I wanted to use for a project, and this was the perfect opportunity!
Step Two


If you guys have read any of my previous craft posts you know I generally go into these projects thinking they’ll be super easy and end up wanting to pull my hair out 2 hours later. This project was much different ,however, the ease of it still didn’t stop me from a glass or two of wine; a crafting essential in my book. All that I really needed to do was pick which patterns from the planner I wanted to use and cut them to the measurements of the box.
Step Three:

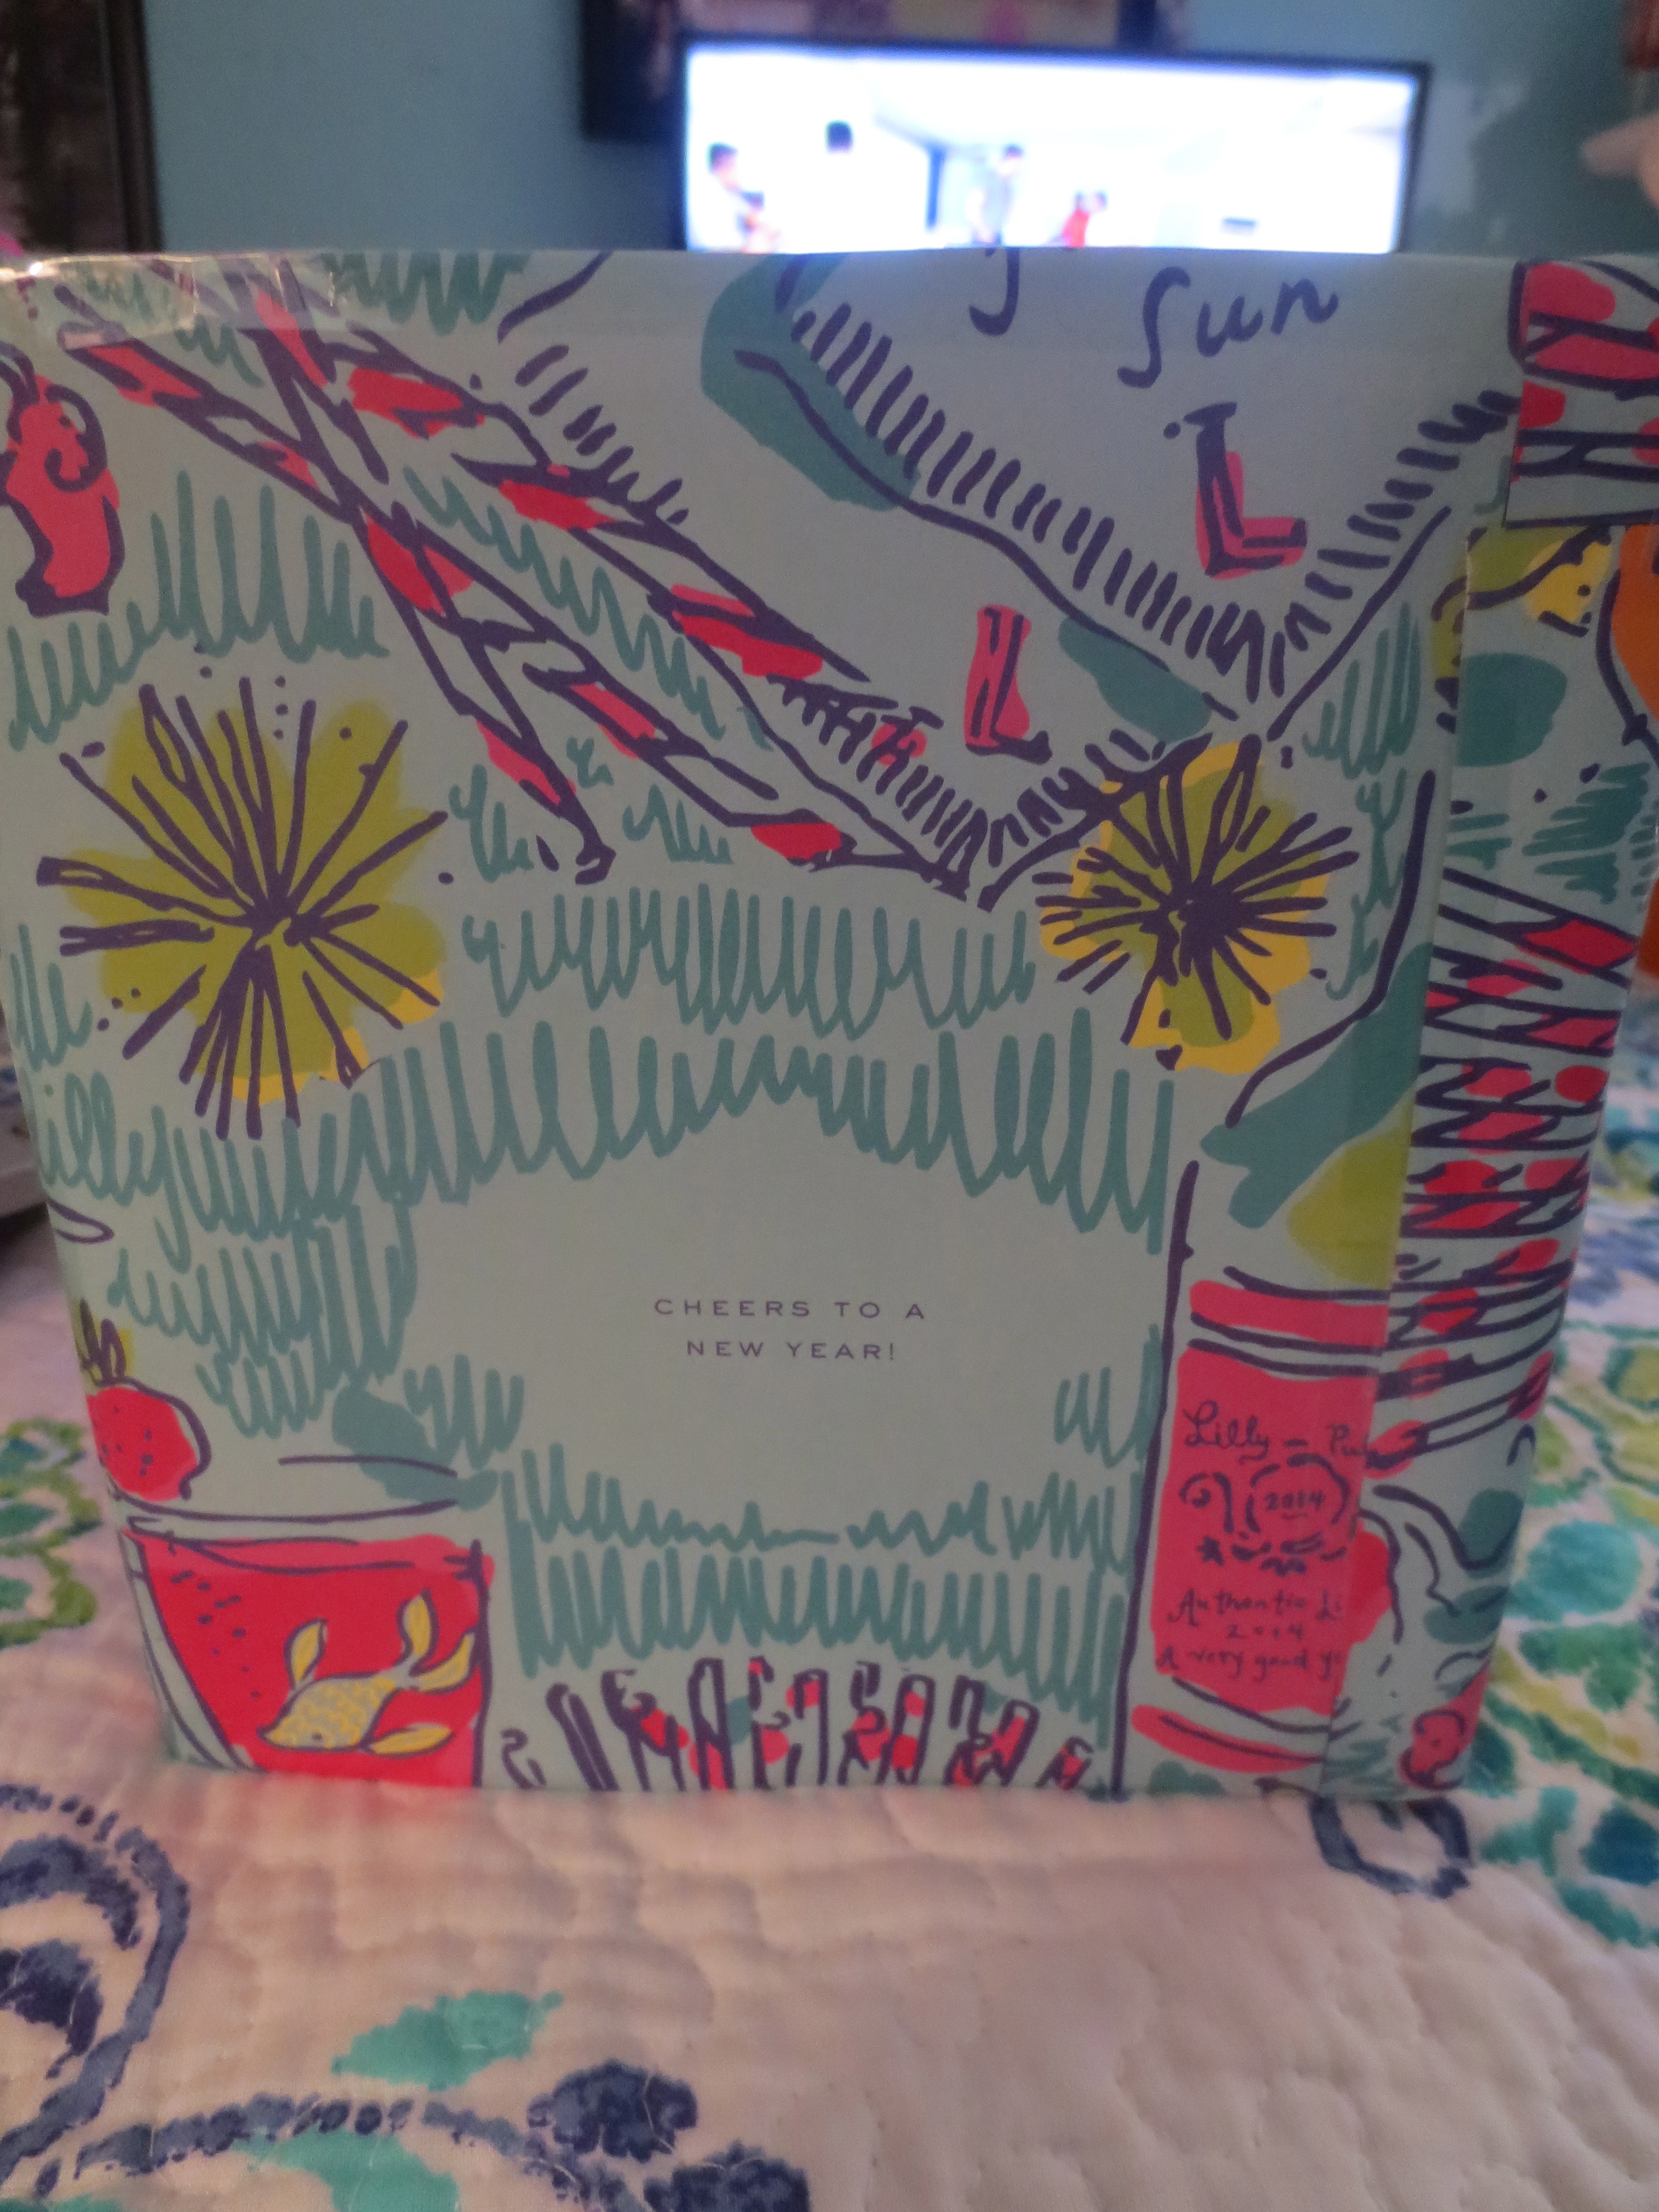


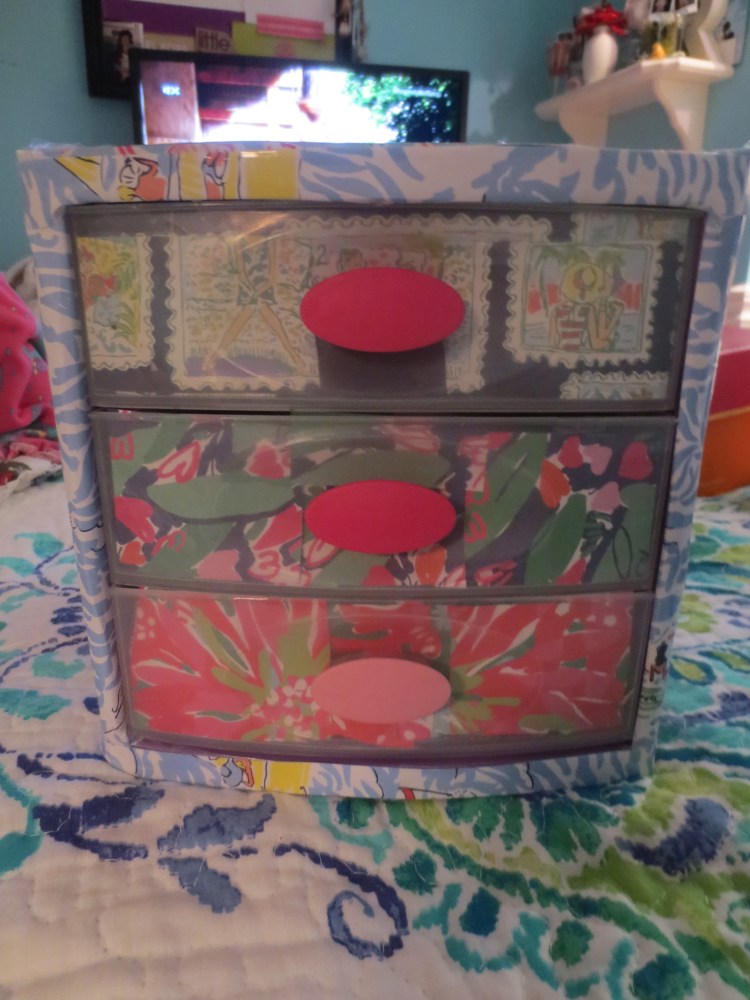
At this point all I had to do was tape the patterns to the box and voila! I had my very own Lilly Pulitzer jewelry box! I decided to line the drawers of the box with the patterns as well for a fun little punch of color when I pull something out to wear. The best part of this project was that it didn’t cost a thing and it had relatively no cleanup required. The lazy girl in me was pleased with how an hour of work turned this junky storage container into a designer jewelry box!
Have you guys ever done any repurposing projects? Have you used your Lilly Pulitzer planners to create anything interesting? Let me know what you think of this project! You guys know it makes my day to hear from you 🙂

This is such a great idea, I have old Lilly agendas sitting around because they’re so pretty I don’t want to throw them away lol. This puts them to good use though. 🙂
http://trend-mixblog.com/
I’m so glad you liked the idea! I still have a bunch of pages left in the planner so stay tuned for future Lilly crafts!
xox
Rach